
Introduction
There's no single blueprint for an autism classroom. No perfect color palette, no magic floor plan, no product list that guarantees success. What actually works is a room shaped around the students who use it every day.
Most classrooms weren't built with autistic students in mind. That creates predictable friction:
- Sensory overload from fluorescent lights and echoing hallways
- Transitions that feel abrupt and confusing
- Visual clutter competing for attention
- Materials that are hard to locate independently
A 2021 integrative review on sensory processing in academic settings found that atypical sensory and attentional processing in autistic students often makes it harder to access instructional material and participate fully in class.
This article covers classroom zones, sensory-aware design choices, visual supports, regulation spaces, and a process for checking whether your environment is actually helping students learn.
Key Takeaways
- Build the room around individual sensory, communication, and mobility needs, not a generic "autism classroom" template.
- Use clear boundaries to signal what happens where, while keeping room for flexibility.
- Cut unnecessary sensory input through lighting, acoustics, and clutter control.
- Treat visual schedules and labeled storage as core design elements, not add-ons.
- Reassess regularly with teachers, therapists, families, and students.
What Should an Autism Classroom Look Like?
The best autism classroom is one students can read at a glance. They know where to go, what to do, what comes next, and where to get help if they need it. That clarity does more for engagement than any specific furniture choice.
Structure Without Rigidity
Good design balances predictable zones with flexibility. A room needs defined areas for:
- Direct instruction
- Independent work
- Small-group activities
- Movement and leisure
- Storage
- Regulation breaks
But it shouldn't feel like a maze of fixed stations. A scoping review on classroom environments and autistic students supports clearly defined activity spaces and reduced visual clutter, and stresses that individual needs should guide how those principles are applied. There's no universal layout that fits every class.
Design Around the Individual, Not the Diagnosis
Every student brings a different sensory profile, communication style, attention pattern, and tolerance for noise or proximity. Design decisions should reflect that variation:
- Light sensitivity: place workspaces away from harsh overhead fixtures.
- Device-based communication: keep charging and storage unobstructed.
- Motor planning challenges: use wider pathways and stable furniture.
The CAST Universal Design for Learning framework calls for multiple ways to engage, access information, and communicate. Those options are built for every learner, not a separate track for autistic students.
Done well, the same approach supports autistic students alongside classmates with ADHD, sensory sensitivities, or physical disabilities, without singling anyone out.
Bring in the people who use the room. Educators, occupational therapists, speech-language professionals, families, and students notice things a floor plan can't predict. At Highly Sensitive Design, our Sensory Environment Assessment maps sensory, spatial, and operational conditions in schools so those blind spots surface before changes are made.
How to Plan the Classroom Layout and Learning Zones
Start with observation, not furniture shopping.
- Map the daily schedule. Note which activities happen when and where conflicts arise.
- Trace movement paths. Identify pinch points where students cross paths or wait in line.
- Flag unavoidable noise and traffic. Note sources such as HVAC vents, hallway doors, and shared walls.
- List what each zone needs to support, including materials, seating, and technology.

Creating Zones That Guide, Not Confine
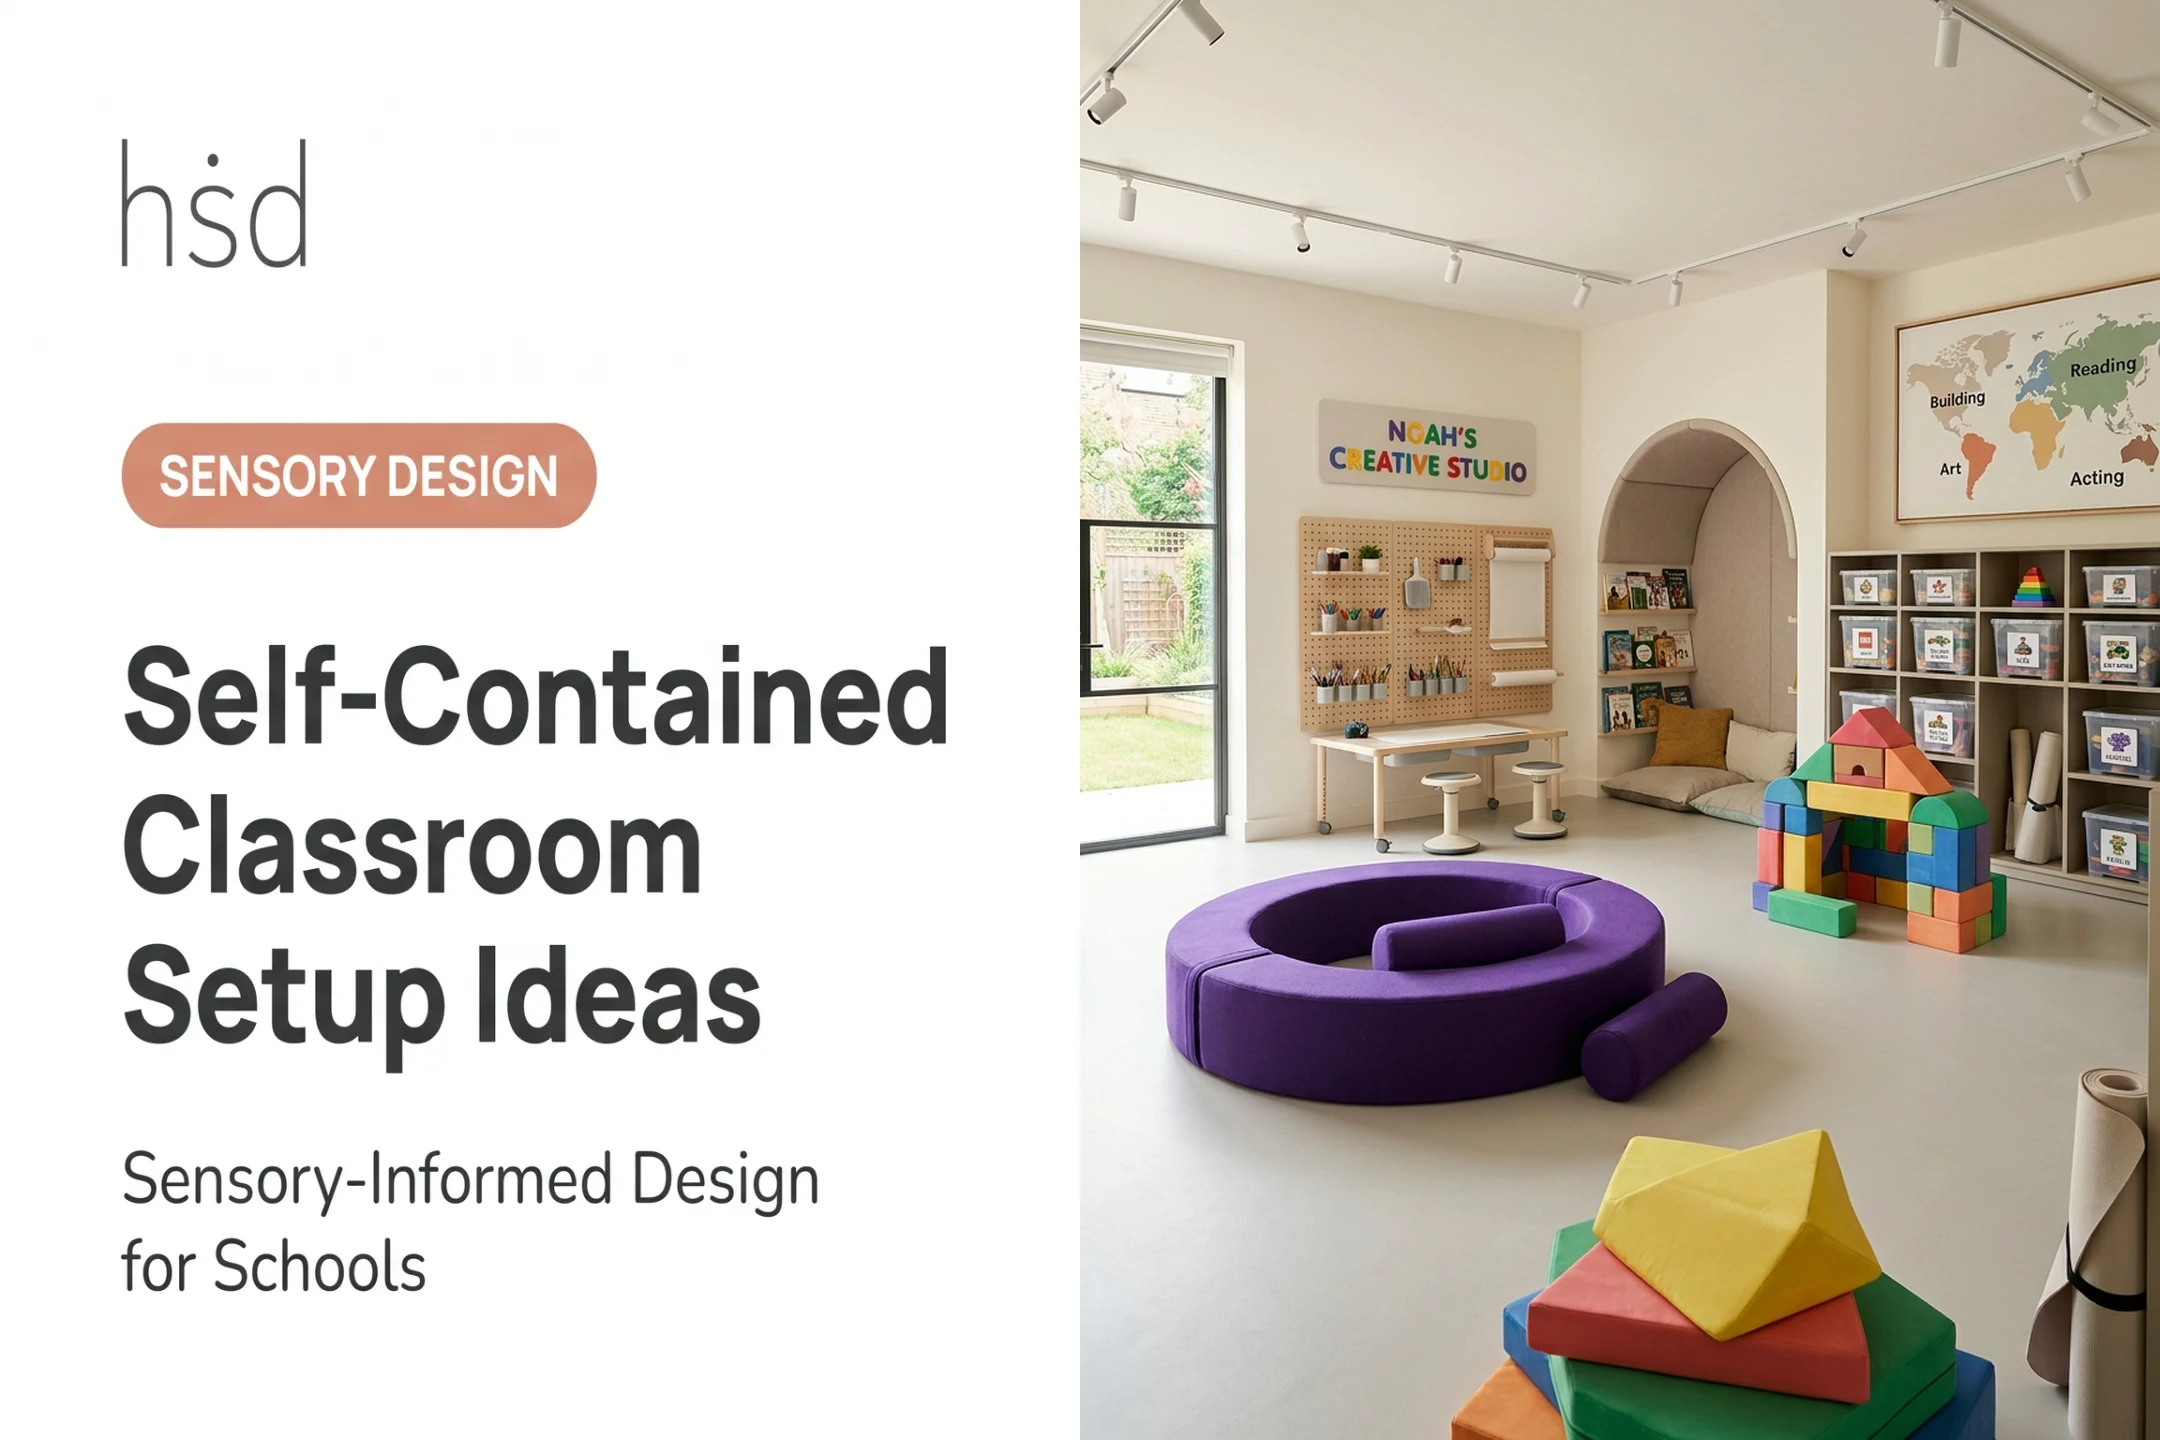
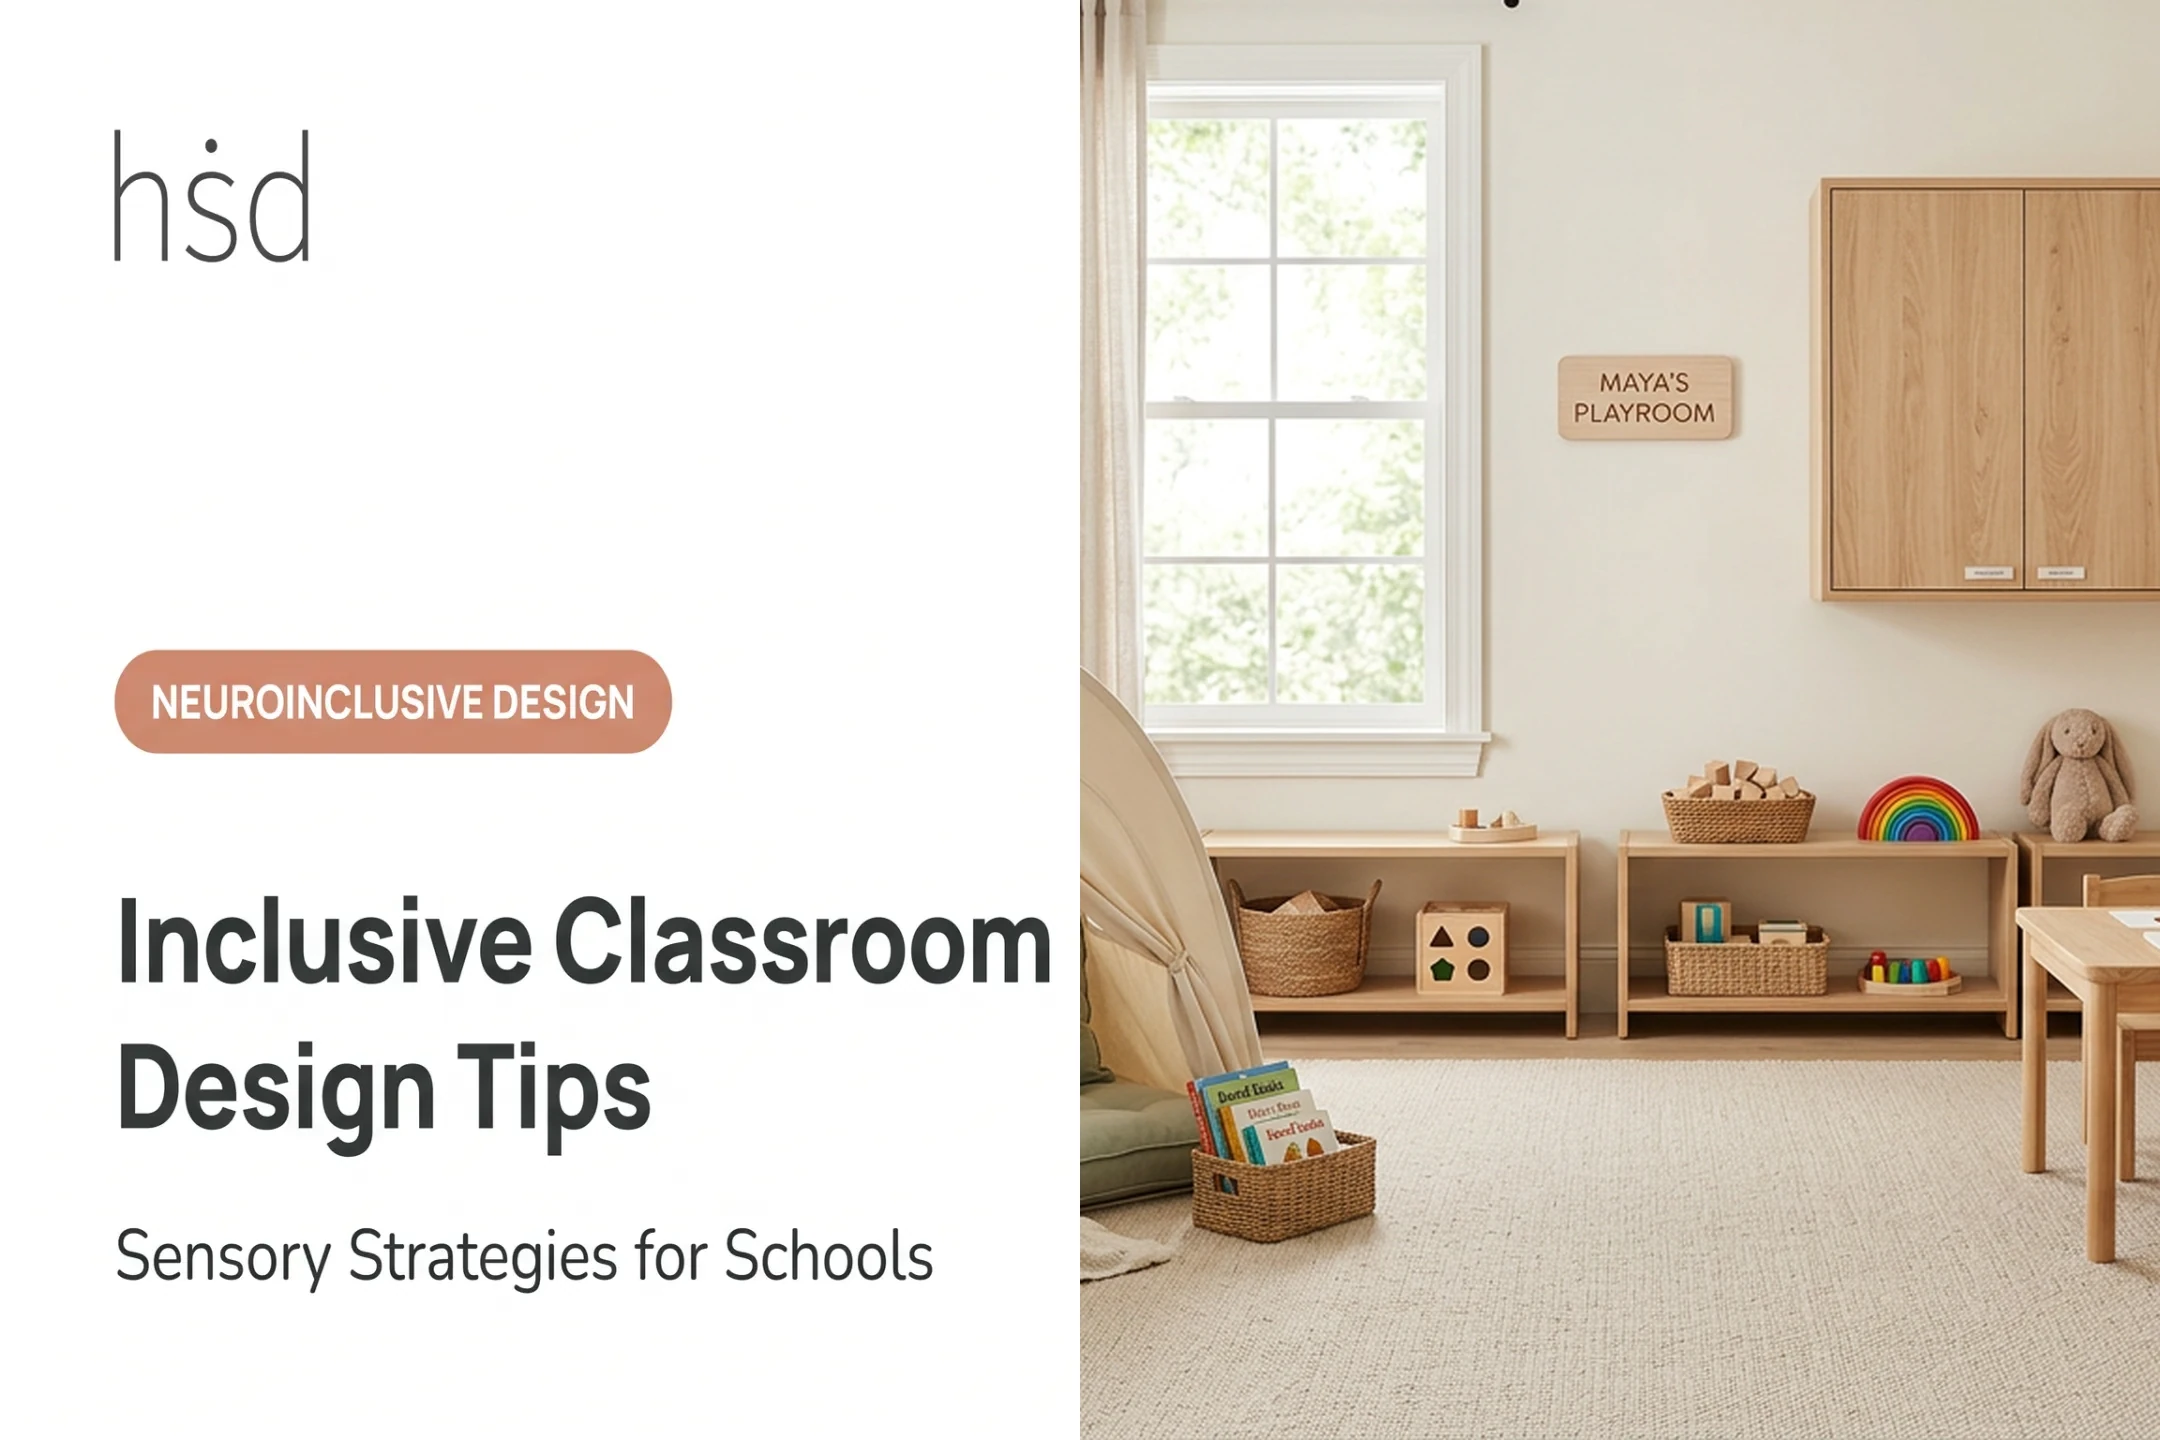
You don't need walls to define a zone. Practical boundary options include:
- Low shelving or bookcases
- Area rugs
- Furniture orientation (chairs facing away from high-traffic paths)
- Color cues or floor markings
- Tabletop screens or dividers
The goal is a visual boundary that says "this is where independent work happens," not a barrier that isolates a student from the group.
Circulation and Supervision
Design routes that reduce collisions and bottlenecks. Keep staff sightlines open across the whole room, even when using dividers. A regulation corner tucked behind a bookshelf can quickly become a supervision blind spot.
Open sightlines also make flexible zones easier to supervise. Swap a table covering, rearrange chairs, or change a visual cue card, and the same space can shift from small-group instruction to independent work without creating a blind spot.
Quick layout checklist:
- Clear floor space for wheelchair or mobility device access
- Staff positioning that maintains sightlines
- Unobstructed emergency egress
- Storage within reach for the students using it
- Minimal distraction from doors and windows
- Room to modify the layout as needs change
Design for Sensory Regulation, Comfort, and Focus
Sensory-aware design touches nearly every surface and system in the room: light, sound, texture, temperature, and the materials students handle all day.
Lighting
The US Department of Energy's 2024 school lighting guidance recommends 30-50 footcandles at the work surface and calls for evaluating glare, flicker, and light distribution before large-scale procurement. Practical moves:
- Use controllable natural light with shades or blinds
- Avoid exposed, unshielded lamps that create glare
- Offer lower-stimulation lighting options where possible
- Position desks away from flickering fixtures or bright doorway sightlines
Acoustics
Noise control starts with layout and surfaces. Practical moves:
- Reduce hard, reflective finishes where feasible
- Separate noisy activities from quiet work zones
- Plan around fixed sources such as HVAC, hallway traffic, and intercoms
The ANSI/ASA S12.60 standard addresses background noise and reverberation in school learning spaces. Reference it directly when your school plans acoustic upgrades.
Reducing Visual Clutter
A cluttered wall competes with the lesson for attention. Consider:
- Closed or covered storage instead of open bins
- Consistent color coding across labels and materials
- Purposeful, limited displays instead of every surface covered
Materials and Furniture
Durability, cleanability, and low odor matter as much as appearance. When specifying furniture and finishes:
- Choose low-VOC materials to limit chemical odor load
- Favor cleanable surfaces that still offer some tactile variety
- Confirm products meet voluntary ANSI/BIFMA standards for education settings
Lighting, sound, clutter, and materials rarely fail in isolation. Highly Sensitive Design's Sensory Environment Assessment evaluates lighting, ventilation, temperature control, and material choices together, then builds personalized recommendations from that data rather than a generic checklist.

Build Visual Supports and Independent Routines
Visual supports are not decoration. They're how a student reads the room's expectations without relying on constant verbal prompting.
Matching Format to the Student
Some students need photographs. Others read written words fluently or use a communication device. A workable visual system might combine:
- Objects or photos for early communicators
- Symbols or icons for emerging readers
- Written schedules for students who read independently
- Device-based supports for AAC users
What a Good Workstation Tells a Student
A well-designed workstation answers four questions without adult intervention:
- What task do I complete?
- How much work is expected?
- What does "finished" look like?
- Where do materials go when I'm done?
The AFIRM visual supports guidance defines these systems as concrete cues that replace or supplement verbal instruction, and notes they can increase on-task behavior and independence when taught explicitly.
Teaching matters more than placement. A schedule on the wall does nothing if no one has taught the student what it means. Observe whether students actually use the support independently, then adjust.
For students with a PDA (Pathological Demand Avoidance) profile, build flexibility into the system itself—optional order, choice within the schedule, or low-demand transition cues—so the support invites participation instead of triggering refusal. Storage and finish bins should match the same logic: clear homes for materials make "done" visible and keep the routine runnable without an adult narrating every step.
When classrooms need that level of customization, Highly Sensitive Design's sensory interior design work often pairs communication and transition supports with storage laid out for independent use.
Review visual supports on a set cadence. As students gain skills or change communication methods, outdated cues stop helping and start creating confusion.
Create a Calm, Respectful Regulation Space
A regulation space gives students a predictable way to reduce stimulation, regroup, or request a break. It is not a punishment corner, and it should never function as forced isolation.
Design Features That Matter
- A location staff can supervise without hovering
- Limited visual clutter
- Comfortable seating or floor options
- Adjustable lighting
- Clear, unobstructed access in and out
- Only the materials that actually help the students who use it
Skip the assumption that weighted blankets, headphones, or fidgets work for everyone. Document what actually helps each student regulate, and build the space around that evidence.
Teach the Space, Don't Just Build It
Students need explicit instruction on:
- When to use the space
- How to request a break
- What choices exist once they're there
- How to return to learning without drawing unwanted attention
Voluntary use is what separates a regulation space from seclusion—and that line carries legal and ethical weight. Oregon's 2024 guidance on preventing restraint and seclusion defines seclusion as involuntary confinement where a student is physically prevented from leaving, even behind an unlocked door.
A short, voluntary break in an open space isn't seclusion. A locked or blocked room is a different matter entirely, and one that carries real safety and legal risk.
Keep exits unobstructed, furnishings age-appropriate, and any supervision procedures aligned with the school's policies and each student's support plan.
A Practical Process for Implementing and Reviewing the Design
Design isn't a one-time project. It's a cycle.
Start With a Room Audit
Record sensory triggers, traffic patterns, clutter, hard-to-reach materials, confusing transitions, and where instruction or regulation tends to break down. Ask staff and students directly where friction shows up.
Prioritize in Stages
- Safety and access first. Unclear egress, severe sensory barriers, unclear routines.
- Then refine. Furniture, finishes, storage, displays, and overall aesthetics.
Trial, Observe, Adjust
Make one change at a time where possible. Track indicators like independent transitions, time on task, frequency of break requests, and task completion rates. Compare before-and-after patterns rather than guessing at impact.
Review Across Conditions
A room that works during a quiet morning lesson might fall apart during a noisy afternoon transition with substitute staff. Check the space across different times of day, staffing levels, and group sizes.
Bring in Help for Larger Builds
When the work moves beyond furniture shifts into renovation or a new classroom build, professional design consultation can coordinate architectural, educational, and therapeutic input in one process.
Highly Sensitive Design's Sensory Environment Assessment produces drawings and reports that function similarly to an RFP, giving schools a foundational document for future construction or renovation. Through its design-build service, an affiliated contractor network can carry those recommendations into an actual build.

A strong classroom supports participation, protects dignity, and adapts as the students in it change.
Frequently Asked Questions
What should an autism classroom look like?
It should be predictable, clearly organized, and sensory-aware, with defined learning zones, accessible visual supports, and enough flexibility to adapt to different students and activities.
How do you structure an autism classroom?
Create defined areas for instruction, independent work, group activities, movement, regulation, and storage. Use clear physical or visual boundaries and circulation paths that avoid bottlenecks.
What are the most important sensory considerations in an autism classroom?
Lighting, glare, acoustics, clutter, visual motion, textures, smells, and temperature all matter. No single setting works for every student, so assess individual sensory profiles first.
Should an autism classroom have a calm-down corner?
Yes, when it's designed as a voluntary, non-confining option and students are explicitly taught how to use it. It should never function as punishment or forced isolation.
How can classroom design support independence for autistic students?
Visual schedules, labeled storage, predictable workstations, and clear "finished" systems all reduce reliance on adult prompting. Explicit teaching of each routine is what makes the design work.
How can schools adapt an existing classroom on a limited budget?
Start with decluttering, repositioning furniture, adding visual boundaries and labels, and adjusting lighting or noise sources. These low-cost changes often solve more than a full renovation would.