
Introduction
An inclusive classroom is built so students with different physical, sensory, communication, cognitive, and emotional needs can participate and belong, without forcing everyone into one "average" student mold. That average student doesn't exist.
Many classrooms still create barriers without meaning to. Crowded pathways, harsh overhead lighting, and sudden transitions are common. A single seating option, materials in one format, and constant visual and auditory noise shut students out of full participation.
In fall 2022, 95% of school-age students served under the Individuals with Disabilities Education Act (IDEA) were enrolled in regular schools, according to federal data from the National Center for Education Statistics.
The share spending 80% or more of their day in general education classes grew from 61% in 2012 to 67% in 2022. That growth means general education classrooms increasingly serve students with a wide range of access needs.
This article walks through assessing learner needs, organizing purposeful zones, building in sensory and communication options, adding flexibility to instruction, and reviewing what actually works over time.
Key Takeaways
- Design with students and families, not from assumptions about a diagnosis
- Treat physical access, sensory regulation, communication, and belonging as one connected system
- Offer real choices in seating, movement, materials, and how students show learning
- Start with low-cost, high-impact changes before pursuing bigger renovations
- Use observation and feedback, not guesswork, to guide what comes next
What Are the Core Principles of Inclusive Classroom Design?
Inclusive classroom design isn't a furniture arrangement you set once or a checklist you finish and forget. It's an ongoing process of noticing barriers and removing them as students, activities, and needs change throughout the year.

Accessibility, UDL, and Neuroinclusive Design Work Together
These three ideas aren't interchangeable, but they build on each other:
- Accessibility establishes the baseline: can every student physically enter, move through, and use the room?
- Universal Design for Learning (UDL), developed by CAST, asks teachers to offer multiple ways to engage, access information, and show learning.
- Neuroinclusive design goes a step further, paying close attention to sensory input, cognitive load, regulation, and behavior triggers that a general accessibility or UDL lens might miss.
Design With Students, Not Just For Them
The strongest classroom designs come from direct input, not assumptions tied to a diagnosis label. Gather perspectives from:
- Students themselves — even young children can point to what feels too loud, too bright, or too crowded
- Families — who see patterns across home and school settings
- Special educators and related-service providers — including occupational therapists
- General education teachers — who observe daily classroom dynamics
A student's needs also shift depending on the activity, time of day, stress level, or even how well they slept. A student who needs total quiet during a test might crave music and movement during independent art time. Design for that variability, not a fixed profile.
This is also where a strengths-based mindset matters. Avoid deficit language, keep expectations high, and give students real chances to self-advocate instead of deciding for them what they need.
How Should You Organize the Physical Classroom Layout?
Layout is often the fastest, most visible place to start. Before rearranging anything, walk the room like a first-time visitor and audit it.
Start With an Accessibility Audit
Check these areas specifically:
- Entrances, pathways, and turning space at desks and workstations
- Flooring transitions, door hardware, and storage height
- Restroom access and emergency egress routes
Under the 2010 ADA Standards for Accessible Design, accessible routes require a continuous clear width of 36 inches minimum, narrowing to no less than 32 inches at points like doorways.

These are baseline federal standards, not a substitute for your state or local building and fire code review. When in doubt, loop in a qualified accessibility professional.
Divide the Room Into Clear Zones
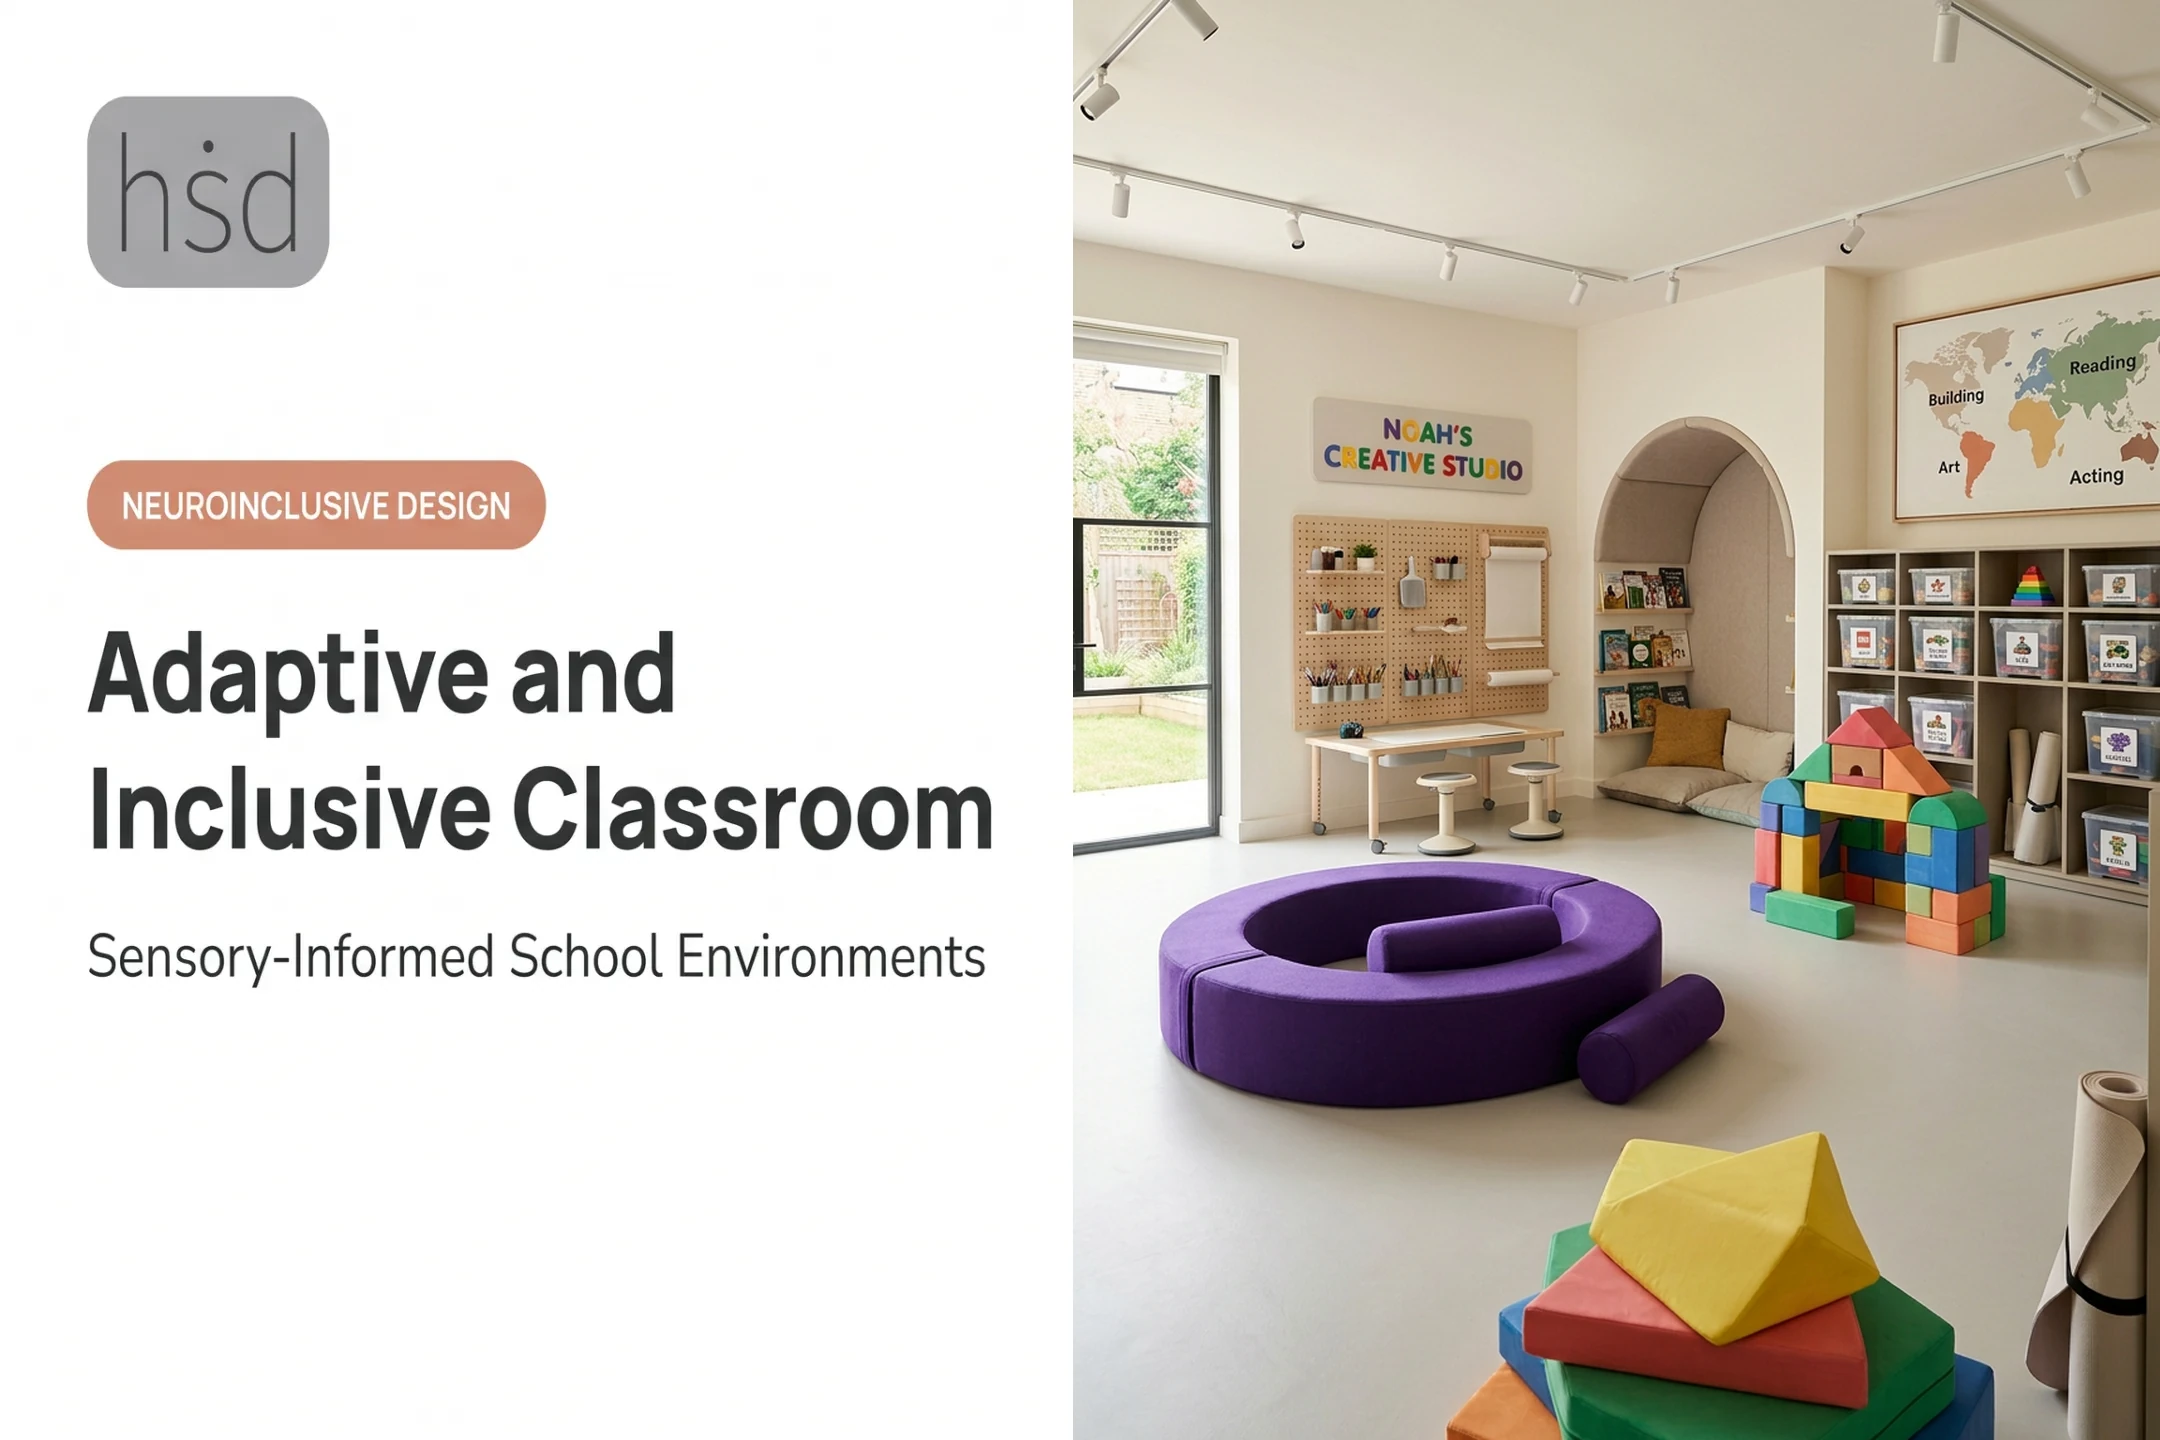
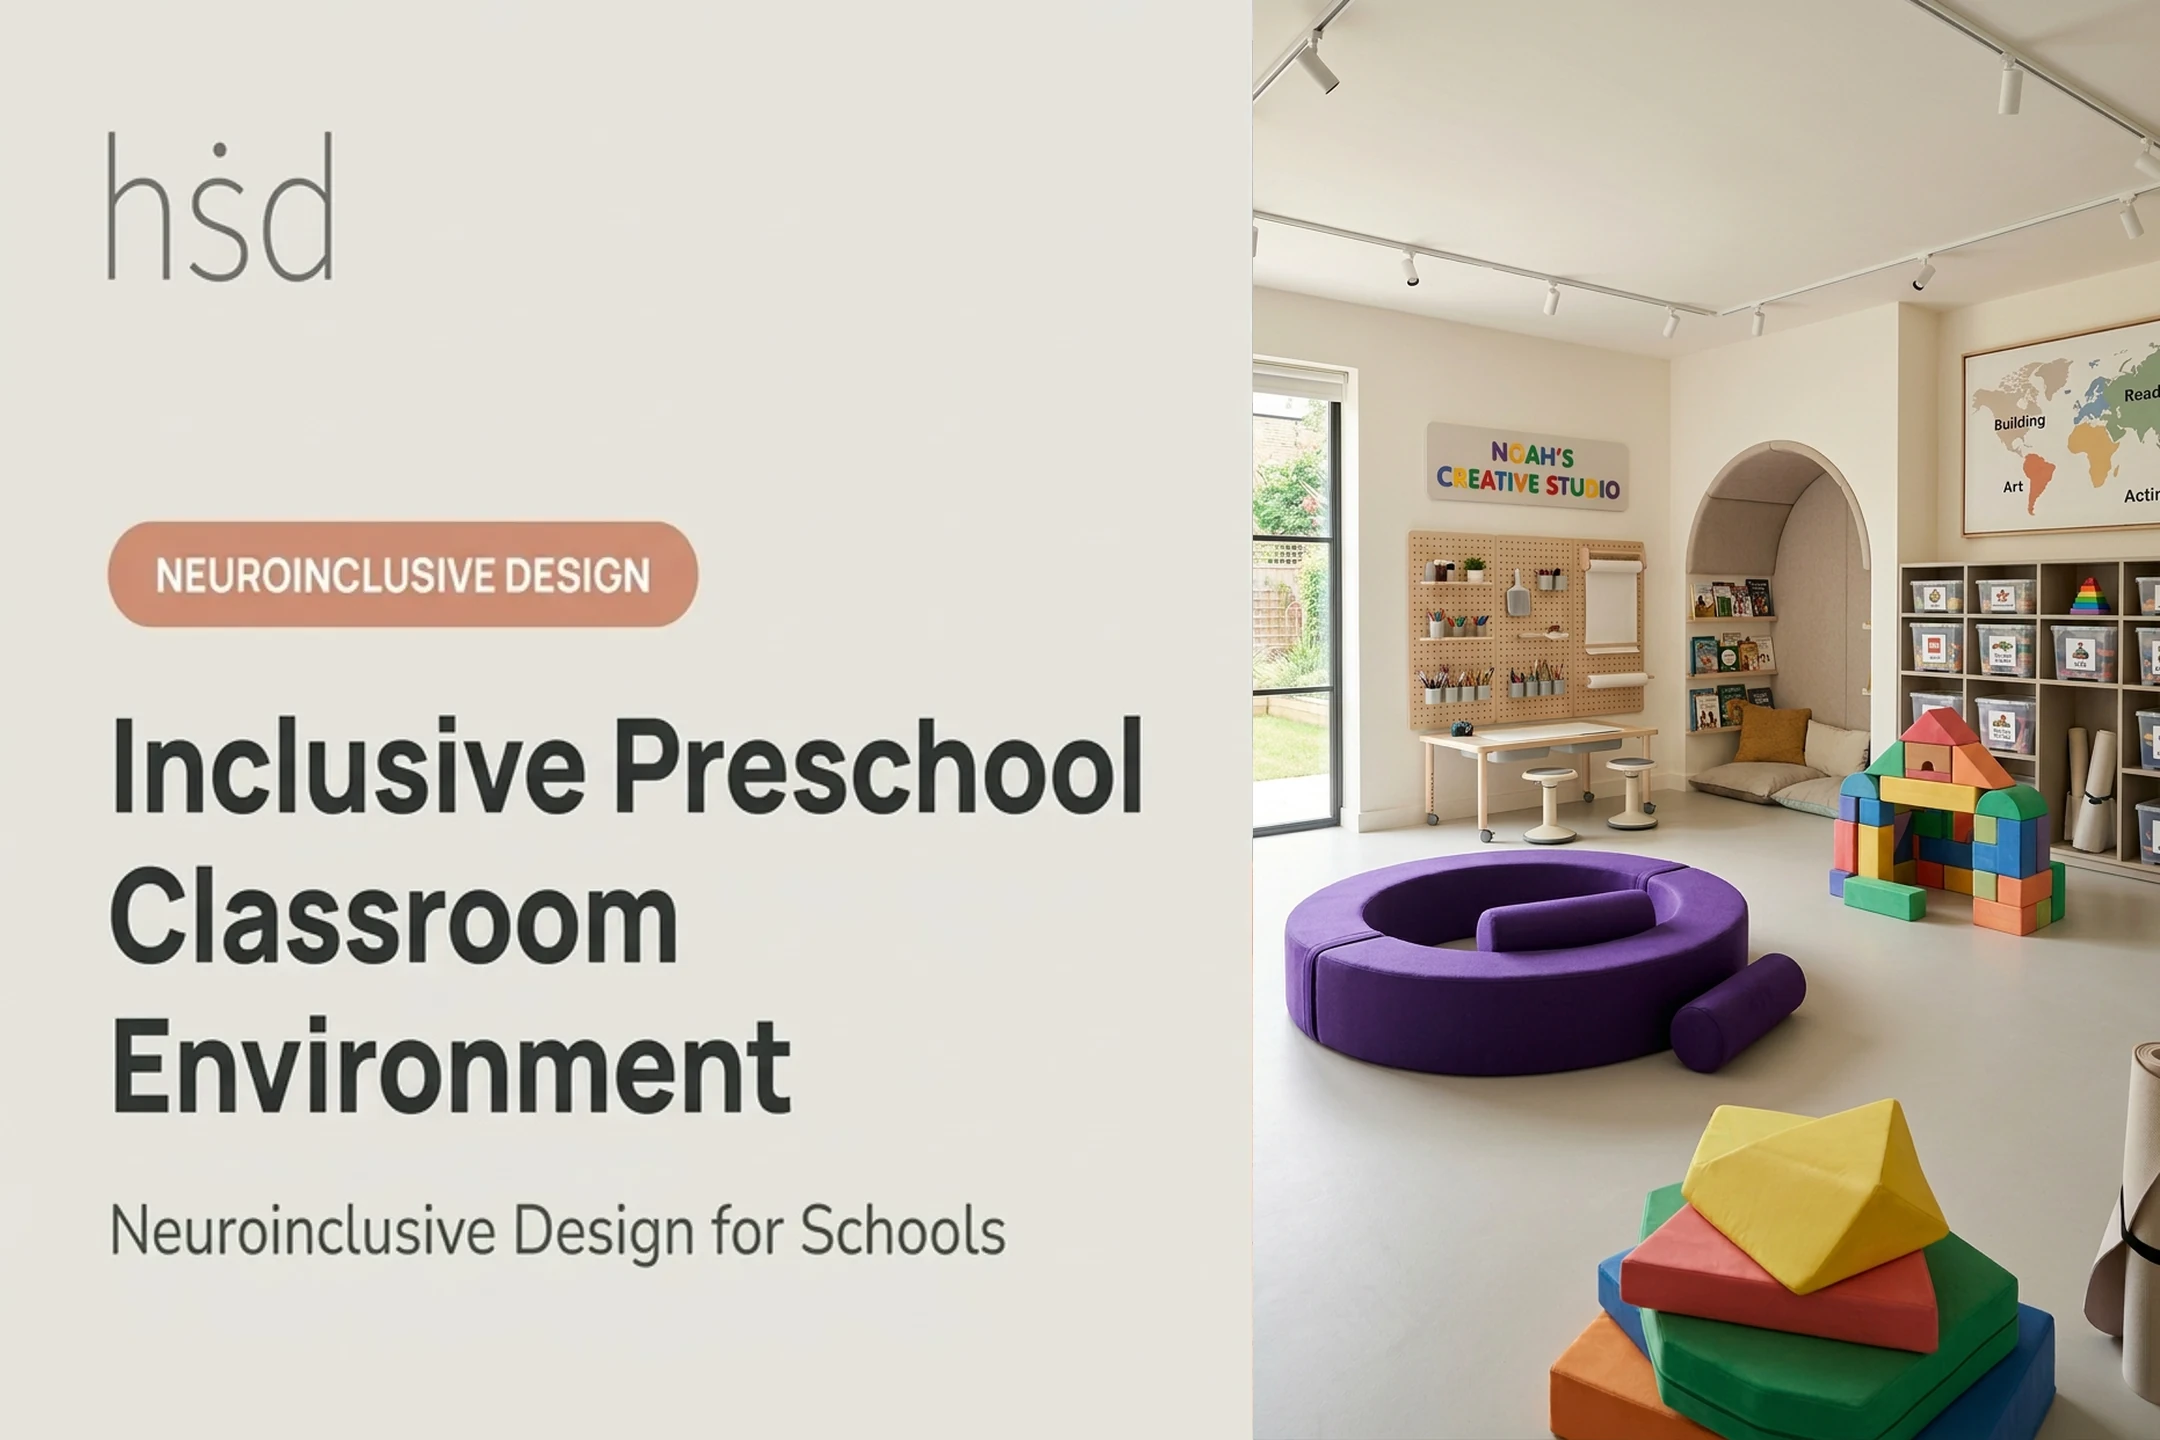
Clear zones reduce confusion and support independence. Common zones include:
- Arrival and transition space
- Whole-group instruction area
- Collaborative work tables
- Independent focus space
- Hands-on activity area
- Materials storage
- Quiet or regulation space
Build Predictable Circulation and Seating Choice
Keep frequently used materials within reach, reduce clutter along walking paths, and confirm students using mobility devices can move through every zone independently.
Seating should offer real variety, not a label. Standard chairs, supportive seating, standing options, and floor space can all coexist in one room. The point is choice based on the task, not on which student "needs" which chair.
Quick exercise: Sketch your room on paper. Mark high-traffic and high-noise zones. Identify pinch points. Test the revised layout with masking tape on the floor before buying a single piece of furniture.
How Can Sensory, Communication, and Learning Access Be Built Into the Room?
Sensory conditions shape whether a student can even access instruction, let alone engage with it. Review these factors systematically—a feature that calms one student may overwhelm another:
- Lighting and glare
- Noise and echo
- Odors and temperature
- Texture and visual clutter
Create a Stigma-Free Regulation Space
A calm or regulation area should be:
- Available to any student who needs it, not reserved as a consequence
- Paired with clear visual instructions for how to use it
- Supervised appropriately, without hovering
- Connected to a plan for returning to learning when ready
Kentucky's Department of Education guidance on sensory-supportive classrooms recommends soft lighting or light filters, taught volume expectations, and seating that accounts for both sensory needs and sightlines.
Offer Multiple Paths for Communication and Learning
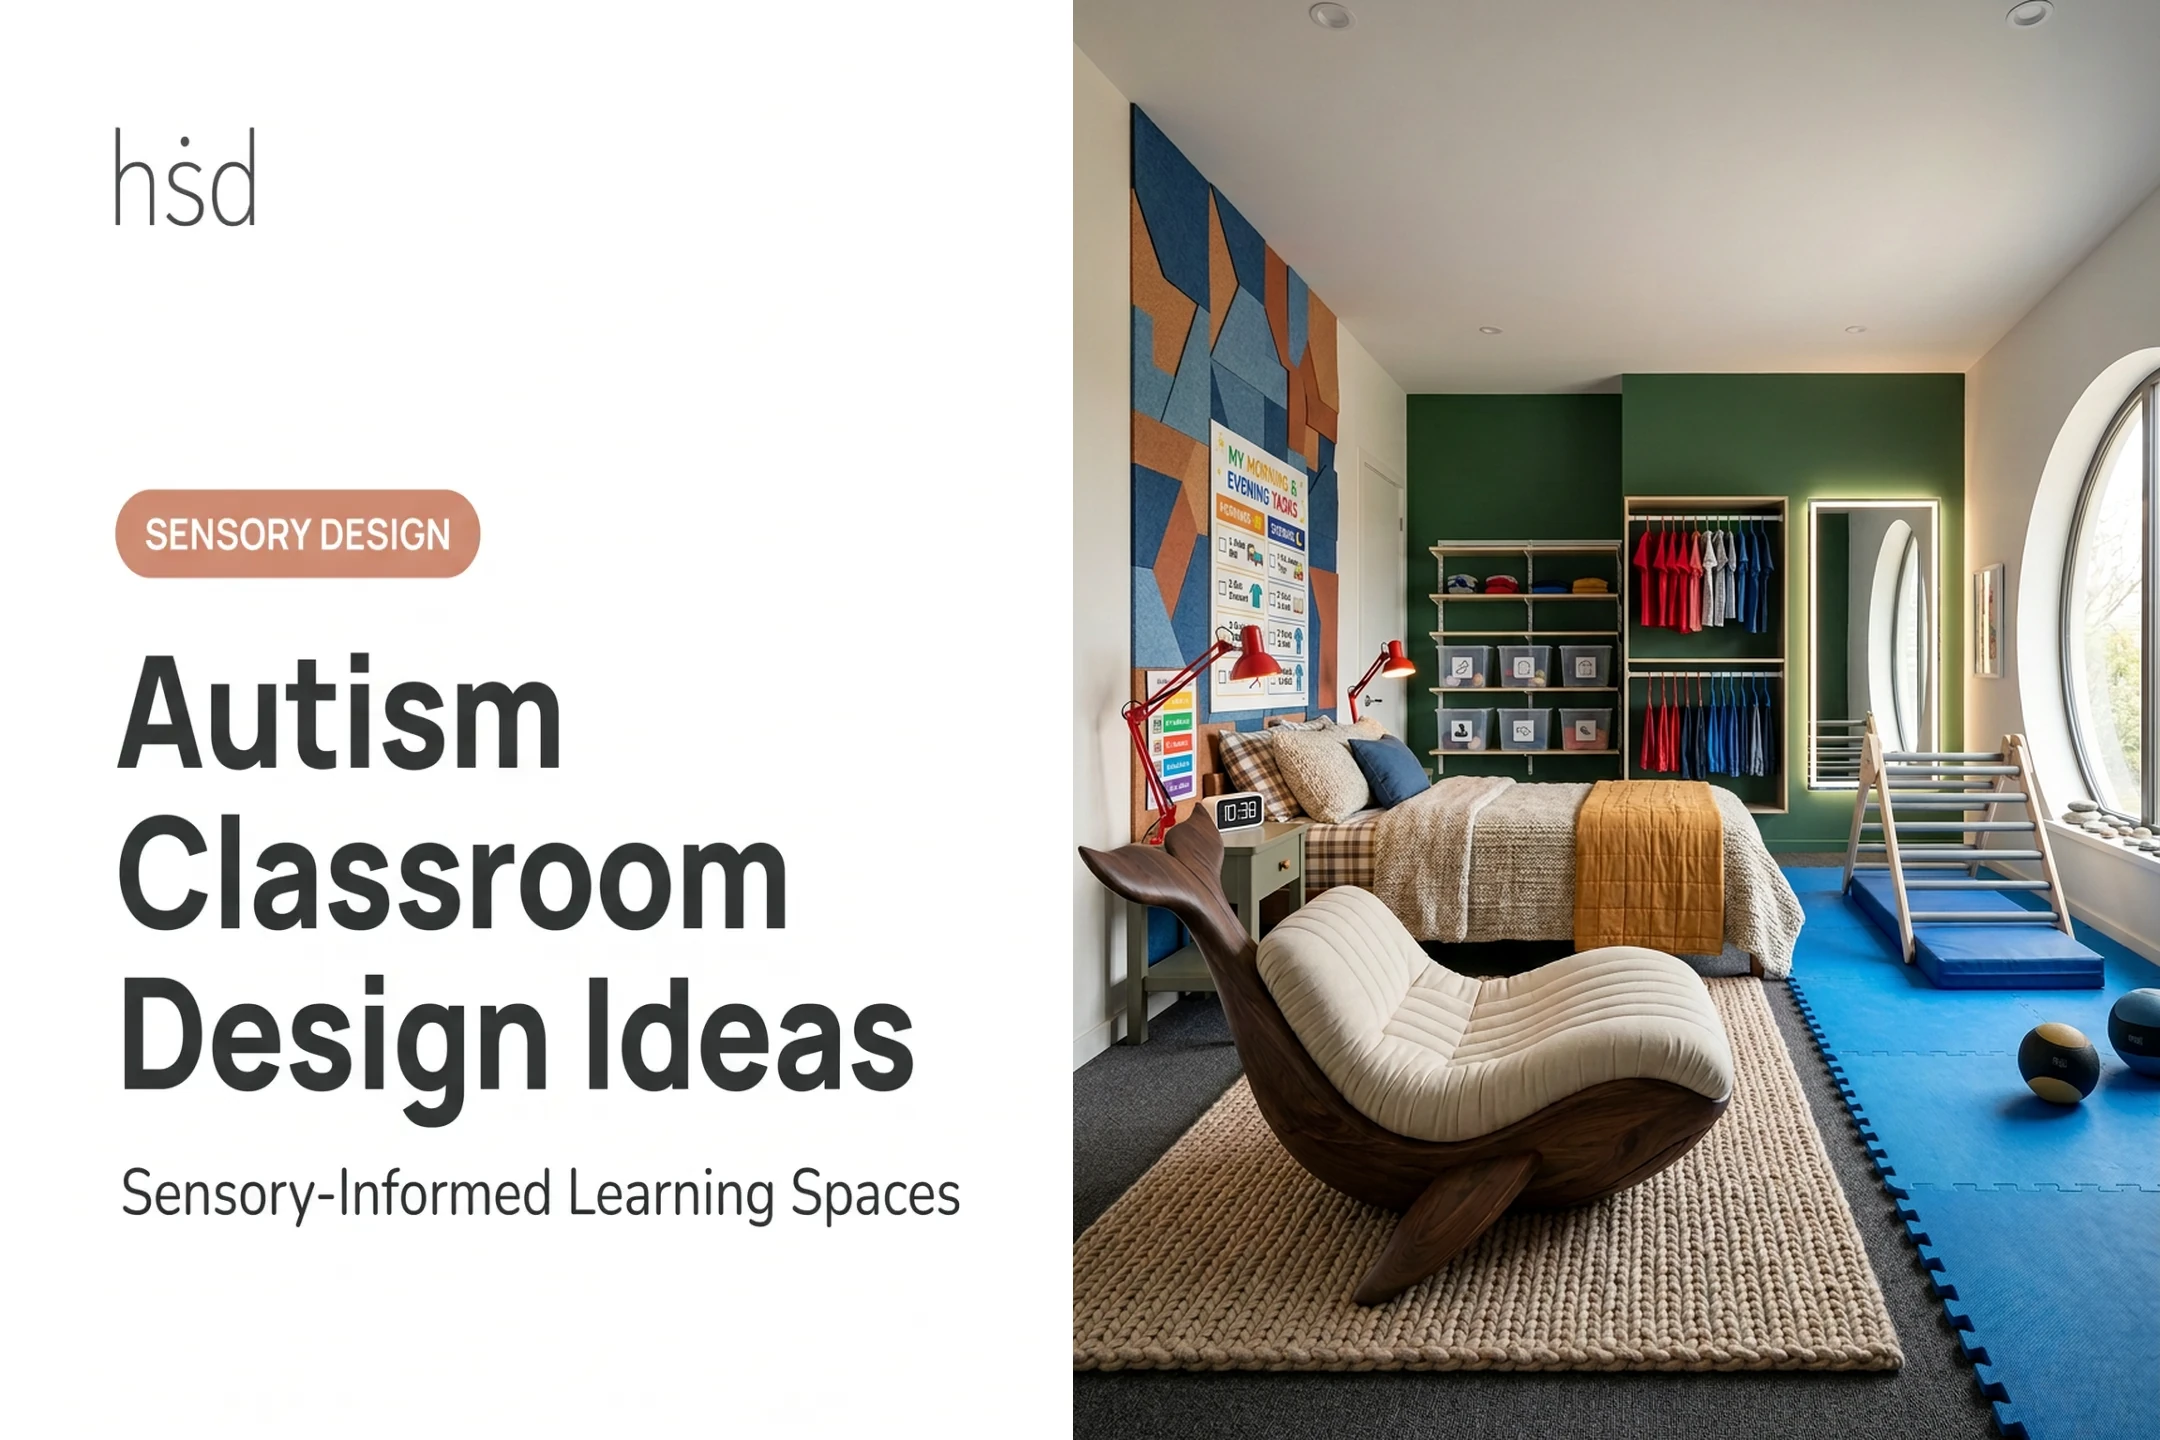
Visual schedules, transition warnings, first-then boards, and labeled storage help many students anticipate what's next. Not every student processes visual information the same way, so offer auditory, tactile, or verbal versions alongside the visuals.
Give students more than one path to show what they know:
- Spoken explanation or written response
- Drawing, models, or demonstration
- Captioned media or audio resources
- Speech-to-text, text-to-speech, or communication boards
Assistive technology, including augmentative and alternative communication tools, should be selected for the individual learner and documented through the IEP process, not assumed from a category of need.
Design for Real Classroom Moments
These access choices show up in ordinary class moments:
- When group noise overwhelms a learner, a quieter corner they can use without asking keeps them regulated
- Movement seekers often focus better at a standing desk or in a designated wiggle space
- Limited fine-motor access calls for adapted tools, not "try harder" encouragement
- AAC users need devices that stay charged, accessible, and built into daily routines—not reserved for emergencies
Highly Sensitive Design's Sensory Environment Assessment reviews lighting, acoustics, transitions, and organization at the room level. Findings become practical strategies for schools serving neurodivergent students.
How Can Teachers Put Inclusive Classroom Design Into Practice?
Good intentions don't automatically translate into an inclusive room. A phased process helps.
Follow a Practical Rollout Process
- Collect input from students and families before making changes
- Observe barriers during different activities, not just during instruction
- Prioritize safety and participation issues over cosmetic ones
- Make reversible, low-cost changes first, like rearranging furniture or adding a visual schedule
- Gather feedback, then plan larger renovations if needed

Use a Simple Review Checklist
Ask whether students can:
- Access every zone of the room independently
- Regulate without embarrassment or unnecessary adult help
- Understand what's happening and what's next
- Participate and interact with peers in more than one way
Document Environment, Not Labels
When tracking what's working, focus on triggers, successful supports, and shifts in participation, not behavior labels. Note what changed in the room, not just what a student did.
If that review turns up gaps your team can't close alone, outside support can help.
For schools and clinics that need added expertise, Highly Sensitive Design's neuroinclusive consulting works alongside architects, designers, and educators. One example is a public school NEST program that supports neurodivergent and neurotypical students in the same space.
Some teams also use a focused 30-minute consult for direct guidance on lighting, acoustics, and transitions before committing to larger changes.
Conclusion
Inclusive classroom design prioritizes flexibility over a finished, permanent layout. Strong classrooms adapt to the students in front of you and the demands of each school day.
Start with one high-impact area. That might be circulation, lighting, transitions, seating, or a regulation zone. Make the change, involve students and support professionals in reviewing it, then adjust.
Keep iterating. Access, dignity, learning, regulation, and belonging should already sit in everyday routine, so support is present before a student struggles.
Frequently Asked Questions
What are the 7 principles for inclusive education?
There's no single universal seven-principles framework. Tanenbaum's Seven Principles is one cited model: teach all students, explore identities, prevent prejudice, promote social justice, choose fitting materials, teach cultures and religions, and adapt lessons.
What are the nine golden rules for inclusive classroom teachers?
"Nine golden rules" isn't a verified, standardized framework. Related guidance often emphasizes clear communication, individualized planning, assistive supports, and fostering social inclusion, but treat any specific nine-item list with caution unless it's clearly sourced.
What are three components of the inclusive classroom?
Three core components are an accessible physical and sensory environment, flexible teaching and learning supports, and a classroom culture that builds real participation and belonging.
How do you design an inclusive classroom?
Assess barriers, involve students and families directly, organize the room into clear zones, and build in sensory and learning choices. Then review the results based on observed participation, not assumptions.
What are examples of inclusive classroom accommodations?
Common accommodations include:
- Clear pathways, flexible seating, and visual schedules
- A stigma-free regulation space plus accessible materials and communication supports
- Assistive technology, captioned content, and multiple ways to show learning