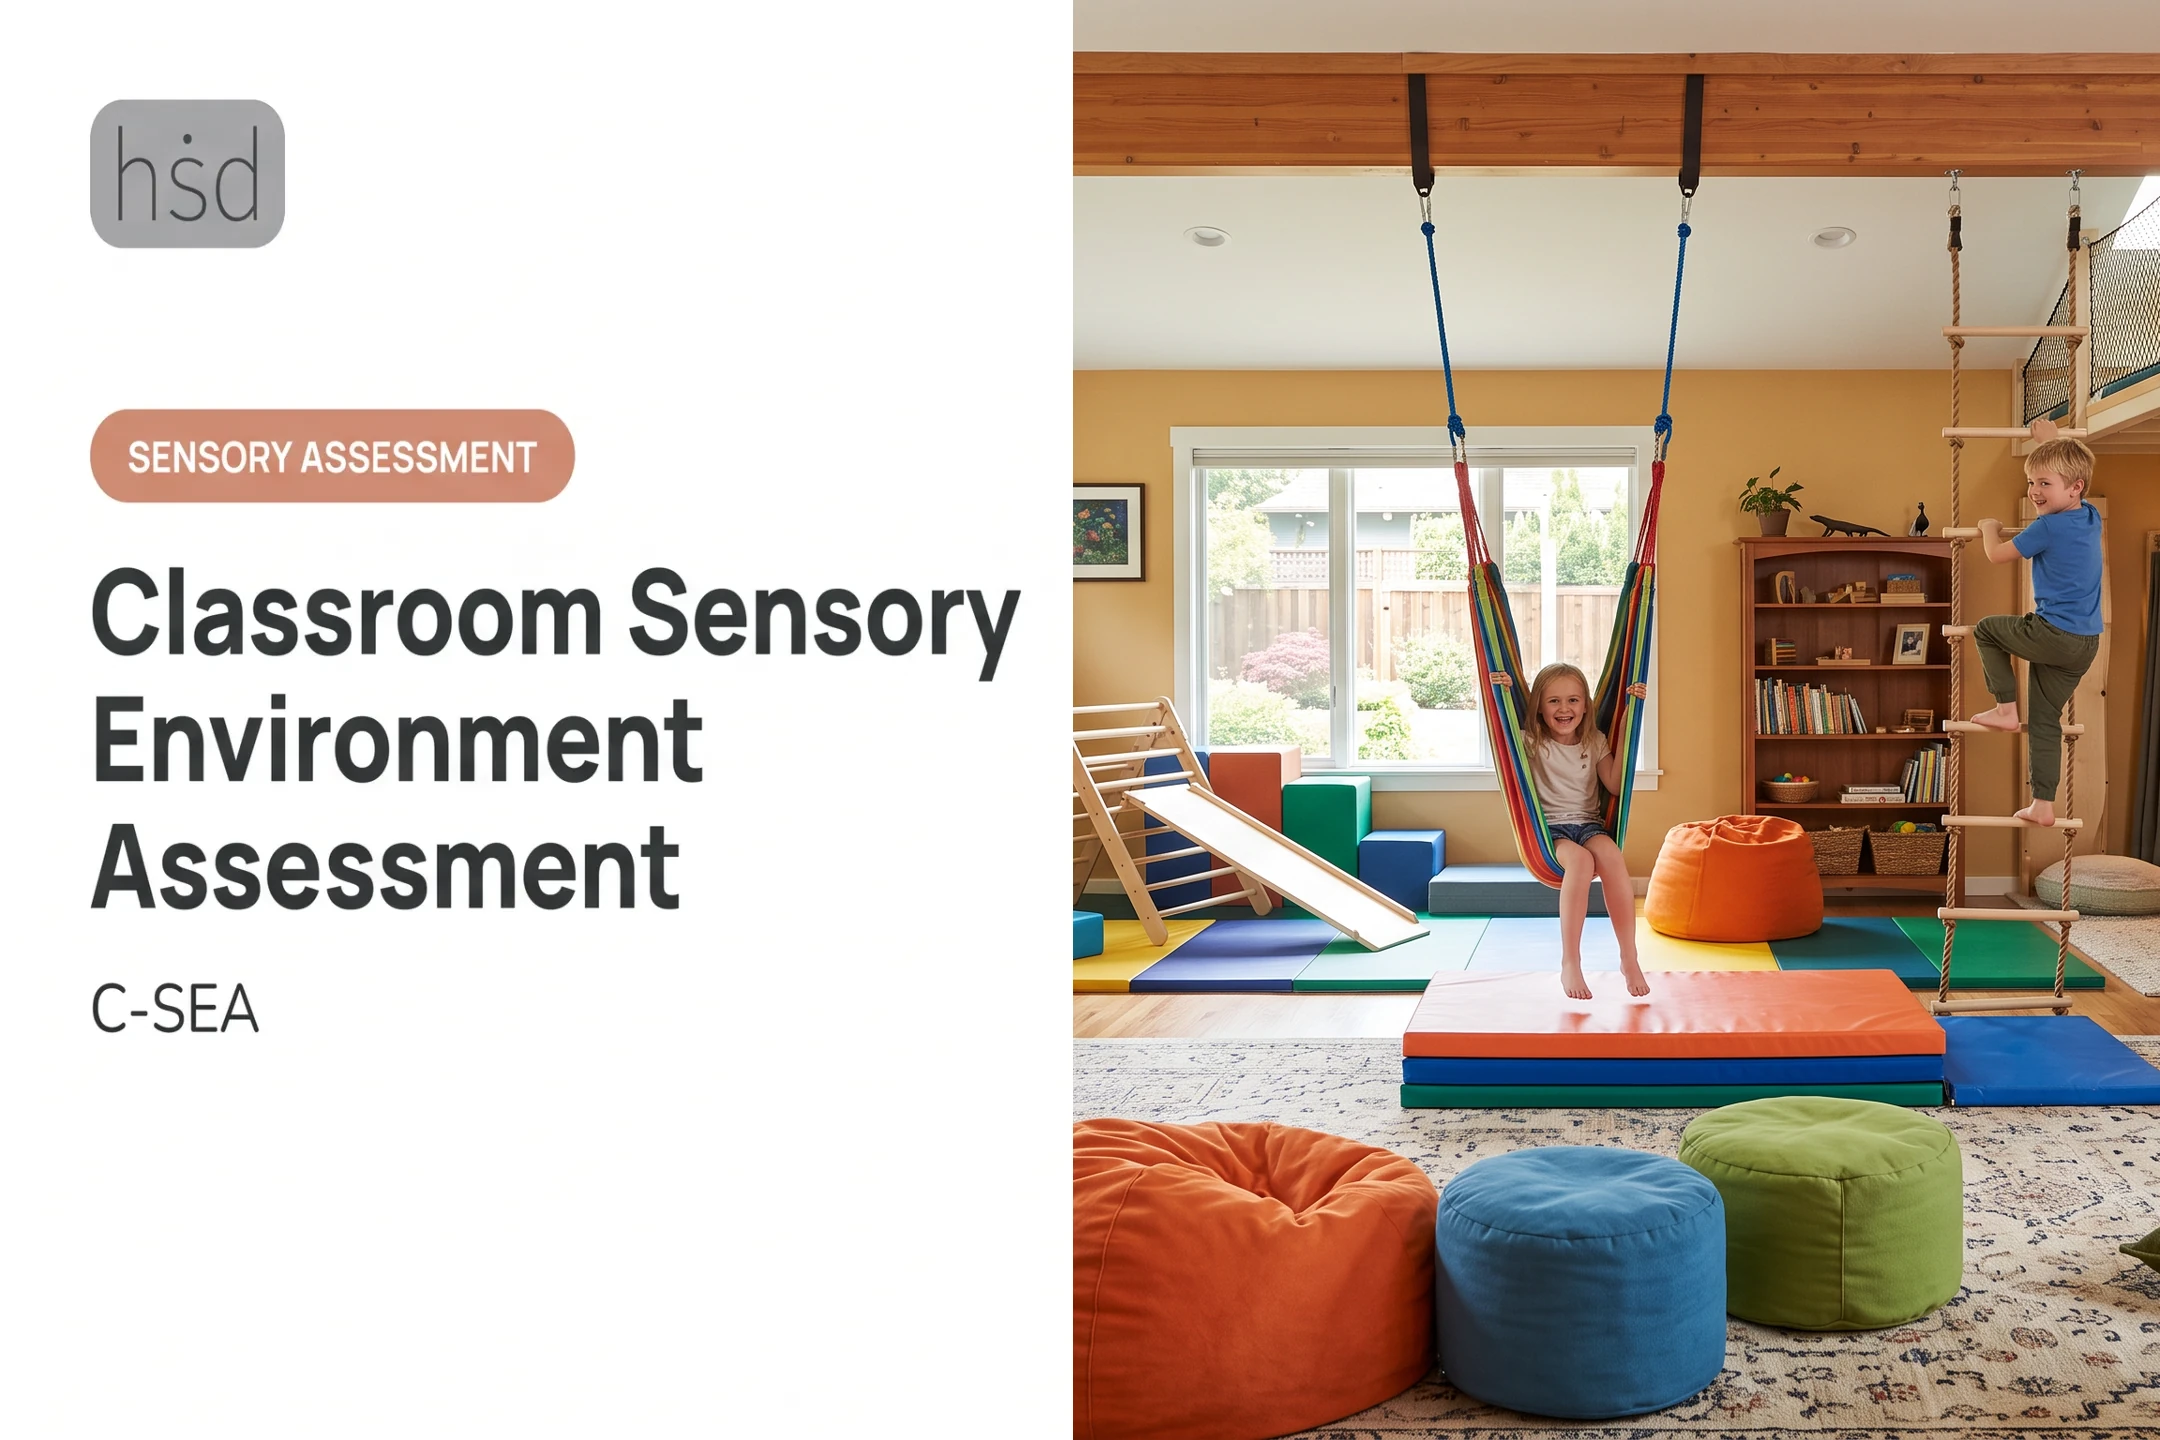

A classroom sensory environment assessment is a structured way to look at how sound, light, layout, materials, temperature, movement, and transitions affect access to learning and regulation. It's not about finding a "correct" classroom or labeling students. It's about spotting environmental barriers and strengths through observation, student input, and collaborative planning.
This guide walks through what to check, how to assess it, and how to turn findings into changes worth testing.
Key Takeaways
- Evaluate multiple sensory domains across different activities, not just one walkthrough
- Combine student input, teacher observation, and support-team feedback while protecting privacy
- Document specific patterns and their effects on participation, not vague impressions
- Prioritize changes by impact, feasibility, safety, and student preference, not pass/fail scores
What You Need to Check in a Classroom Sensory Environment
Define scope before anyone enters with a clipboard. Who requested the assessment, and why? Which parts of the room and school day are included? Who's participating, from the classroom teacher to the student? How will observations be recorded so they're useful later?
Skip this step and you get disconnected notes with no clear next action.
Tools and Indicators Required
Keep the toolkit simple and practical:
- A room floor plan marking fixed features (doors, vents, windows, storage)
- An observation checklist organized by sensory domain
- Time-stamped notes for tracking patterns across a day
- A decibel meter or light meter, when precision matters
- Photos or video, but only with proper consent
- A feedback method for students and staff, such as a short survey or visual scale
For each condition you find, document:
- What the sensory input is
- When it happens
- Who is likely affected
- What participation or regulation effects you observe
- What environmental response might help
Sensory Domains to Review
No single domain tells the whole story. Cover all of them:
- Auditory: background mechanical noise, hallway sound, overlapping talk, sudden announcements, echo, and whether quieter work areas exist
- Visual and lighting: glare, flicker, visual clutter, sightlines, screen reflections, and window coverings
- Tactile, olfactory, thermal, and air quality: furniture and clothing contact, cleaning or food odors, ventilation, and temperature swings
- Spatial, movement, and transitions: crowding, pathways, seating flexibility, proximity to doors, and how predictable transitions feel
ASHA's classroom acoustics guidance links poor acoustics to weaker speech perception, listening comprehension, attention, and behavior, and calls for checks on background noise, reverberation time, and signal-to-noise ratio. The Department of Energy's school lighting guidance flags glare and flicker as common causes of headaches and eye strain, and urges gathering student and teacher feedback after install rather than trusting specs alone. EPA evidence on indoor air quality associates higher outdoor-air ventilation with stronger math and reading scores, and notes that even modest temperature shifts affect concentration.

Student and Classroom Context
Sensory conditions shift throughout the day. Arrival looks nothing like independent work; lunch looks nothing like an assembly. Track how conditions change across:
- Arrival and dismissal
- Whole-group instruction
- Independent and group work
- Lunch and recess
- Assemblies or other high-demand periods
Separate environmental causes from instructional or social ones. A student struggling during group work might be reacting to noise level, or to the task itself.
Note existing accommodations and what already works, then ask students directly what they would change. Their lived experience matters more than adult assumptions about comfort.
Methods to Assess a Classroom Sensory Environment
No single method catches every barrier. Combine physical observation, activity-based observation, and direct feedback from the people who actually use the room.
Structured Classroom Walkthrough
This creates a consistent snapshot of the room's physical and sensory characteristics.
Tools needed: floor plan, domain-based checklist (visual, auditory, tactile, movement, and spatial), notes, optional light or sound measurements.
Steps:
- Walk the empty room before students arrive. Map fixed features, sensory inputs, traffic routes, and any potential quiet or retreat areas.
- Observe during a representative activity. Record what changes and whether students can access alternatives.
- Verify findings with the teacher and support team, separating confirmed patterns from things that need more digging.
This method is strong for spotting physical and organizational conditions consistently—for example, glare on boards, noisy HVAC zones, or traffic paths that cut through quiet corners. Its weakness: it can miss internal sensory experiences and the differences between individual students.

Activity- and Time-Based Observation
Here you're comparing the same room across different activities, group sizes, and demand levels to spot triggers and protective conditions.
Tools needed: a time-stamped form tracking activity, sensory conditions, student responses, and any adjustments made.
Steps:
- Pick several routine periods and note the task, group size, noise level, lighting, and transition demands.
- Record observable changes, not assumptions about intent. Covering ears, leaving the area, delayed task starts, or increased movement are worth noting; guessing at motivation isn't.
- Compare patterns across contexts and test one low-risk change at a time.
This reveals when a condition matters, which is gold for problem-solving. But it takes repeated observation, and it should never be used to infer a diagnosis.
Student, Family, and Staff Feedback
This is where you learn what can't be measured from the outside.
Tools needed: accessible interviews, visual scales, student-led tours, and communication supports for students who need them.
Steps:
- Ask open, non-leading questions: What helps? What feels overwhelming? What would you change?
- Compare feedback against your observations, treating the student's report as essential evidence rather than something to disprove.
- Agree on a small set of experiments, define what success looks like, and set a follow-up date.
Feedback surfaces experiences no checklist can capture, but it has to stay voluntary, accessible, and protected from unnecessary disclosure.
How to Interpret the Results
The point of interpretation is connecting environmental conditions to real effects on learning, participation, or comfort, not building a universal sensory rulebook. What works for one classroom won't automatically apply to the next.
Strengths and supportive conditions. Identify what's already working. A quiet corner that gets used voluntarily, a lighting setup that draws no complaints, a transition routine that runs smoothly. Document why these work so they can be preserved or extended elsewhere.
Patterns requiring attention. Describe recurring or context-specific barriers with concrete detail: the activity, the sensory domain, who reported an effect, and what it changed. One noisy fire drill isn't a pattern. A hallway bottleneck that happens every single transition is.
Prioritization. Rank possible changes using several factors together:
- Likely impact on the student or group
- Urgency and safety
- Cost and reversibility
- Feasibility for your timeline and staffing
- Student preference
Separate quick classroom fixes (moving a desk, adding a rug) from bigger facilities or capital design decisions that need more planning.
Action and follow-up. Every recommendation needs an owner, a timeline, and a review date. Measure progress through participation, task access, comfort reports, or reduced need to leave the room, not compliance alone.
When findings need outside support. Some findings point beyond what a school team can address alone, like acoustics tied to HVAC systems or lighting requiring electrical work. In those cases, a sensory-focused design professional can help translate assessment findings into a broader plan.

Highly Sensitive Design's sensory environment assessment service draws on architecture, psychology, and special education backgrounds to turn those findings into practical recommendations. That consultation supports the educational and clinical work already happening at a school; it doesn't replace it.
Common Errors and Safety Best Practices
A few recurring mistakes can undermine an otherwise solid assessment:
- Assessing only when the room is empty, missing how it behaves under real use
- Observing a single activity and generalizing to the whole school day
- Treating visible behavior as proof of one specific sensory cause
- Assuming a fix that helped one student will help every student
Avoid using these assessments to diagnose a student, justify exclusion, or remove communication and movement supports. Measure success by participation, comfort, and access, not by sitting still or making eye contact. Use descriptive, neuroaffirming language throughout.
Protect privacy. Get appropriate consent before interviews, photos, recordings, or sharing student data. Share only what's necessary for planning, and follow your school's policies.
Check safety before testing any change.
- Keep exits clear
- Don't block supervision sightlines or emergency equipment
- Secure furniture
- Use age-appropriate materials
Anything touching ventilation, lighting, acoustics, or building systems needs a qualified professional.
Reassess after changes. Reducing one sensory input can create another, or remove a support a different student was relying on. Invite students and staff to flag anything unexpected.
Conclusion
A reliable classroom sensory environment assessment blends three inputs:
- A structured look at the physical room
- Observation across real activities
- Honest input from the students and adults who spend their days there
None of these alone tells the full story. What matters is turning findings into individualized, testable changes that make a classroom more inclusive and easier for students to learn, regulate, and participate in.
Frequently Asked Questions
What is a classroom sensory environment assessment?
A classroom sensory environment assessment is a structured review of sensory conditions, student experience, and existing supports. It flags environmental barriers and strengths; it does not diagnose a student.
Why is a sensory assessment important in a classroom?
Harsh lighting, unpredictable noise, and similar barriers limit access and comfort. Fixing them improves participation and regulation for many students—not only those with a diagnosis.
Who should conduct a classroom sensory environment assessment?
Teachers and school teams can start with basic observations. More complex environmental, accessibility, or design questions may call for occupational therapy, facilities, or sensory-focused design expertise.
What areas should be assessed in a sensory-friendly classroom?
Assess sound, lighting, and visual clutter; materials, odors, temperature, and airflow; and layout, movement options, transitions, and student choice. Each domain can support or undermine regulation and learning.
How often should a classroom sensory environment be assessed?
Start with an initial review, then reassess after significant classroom or student changes, and again after any environmental adjustment. There's no fixed universal schedule.
What should a school do after completing a sensory assessment?
Prioritize findings, pick practical changes with student input, and assign an owner and timeline. Document results and revise the plan from feedback.