
Introduction
A sensory room earns its keep when the person using it feels safer, calmer, and more in control after ten minutes than they did before walking in—not when every wall is covered in equipment.
That's a harder standard to hit than most people expect. A room built to soothe can just as easily overwhelm. Cram a bubble tube, projector, swing, and stacked tactile tools into one unsupervised corner and the room can tip into sensory chaos. That risk climbs fast when the design ignores the actual person it is meant to serve.
Sensory differences are common enough that this matters at scale. A 2022 CDC surveillance study of over 25,000 autistic children found documented sensory features in 74% of the children examined. That's not a niche design problem.
This guide covers the full build path: purpose, user insight, deliberate sensory inputs, accessible zones, safety protocols, and post-occupancy evaluation.
Key Takeaways
- Design from a specific sensory profile, not a generic equipment checklist
- Offer calming, alerting, movement, tactile, or low-stimulation choices, never all at once
- Treat lighting, acoustics, materials, accessibility, and supervision as core requirements, not add-ons
- Use the room as a proactive regulation resource, never as punishment or isolation
What Is a Sensory Room and What Is It For?
A sensory room is a deliberately designed, controllable environment offering selected sensory experiences—visual, auditory, tactile, vestibular, or proprioceptive—that support regulation, focus, comfort, exploration, or transitions. Researchers often call this a multisensory environment, or MSE, and Snoezelen-style rooms are one well-known example.
The same input doesn't work the same way for everyone. Someone who's sensory seeking might crave deep pressure and movement. Someone sensory avoiding might need silence and dim light.
A rocking chair that calms one child might dysregulate another entirely. There's no universal formula, and a 2025 systematic review confirmed that evidence-based, one-size-fits-all MSE design guidelines simply don't exist yet.
Sensory rooms show up in a wide range of settings, each with different goals:
- Schools — regulation support between classes or during overwhelm
- Therapy clinics — structured, goal-directed sensory work
- Airports — quiet breaks for travelers with sensory sensitivities (SFO's Harvey Milk Terminal 1 and Detroit Metro both operate rooms like this)
- Libraries and museums — accessible retreat space open to any visitor, like the American Museum of Natural History's semi-enclosed nooks
- Workplaces and homes — daily regulation, focus, or decompression
That range of settings also means scale can flex. You don't always need a full dedicated room.
A Full Room Isn't Always Necessary
A dedicated sensory room, a smaller sensory corner, a portable kit, and a retreat nook all serve the same underlying purpose at different scales. Limited square footage doesn't rule out thoughtful design—a converted closet with the right lighting and a weighted lap pad can do real work if it's built around the person using it.
Build the Design Around the User, Not the Equipment
Most sensory room failures trace back to one mistake: buying equipment before understanding who it's for. Start with a written design brief instead.
Your brief should answer:
- Who will use the space, and what are their ages, abilities, and communication styles?
- Is the setting a home, school, clinic, or public building?
- How many people will use it, and will they use it alone or with support?
- What's the primary goal: calming, alerting, transition support, exploration, or several of these?
Dig into specifics before design begins. Gather information on:
- Sensory preferences and triggers
- Mobility and motor planning
- Allergies and privacy needs
- How the person signals "more," "less," or "stop"
If someone can't verbally request a break, build a visual or gestural option into how the room works from day one—not as a retrofit.
Why User Control Matters More Than Equipment Choice
A 2021 study of 41 autistic children found that giving children control over sensory changes was associated with increased attention and reduced repetitive motor and vocal behaviors. The same study found no significant change in anxiety or social behavior. Sensory rooms can support regulation; they do not guarantee emotional outcomes.
That finding points to method, not merchandise. A Sensory Environment Assessment maps the existing space first: lighting, ventilation, acoustics, accessibility, and code compliance. The aim is to locate real sources of overload before anything new is added.

Highly Sensitive Design runs these assessments in homes, schools, workplaces, and healthcare settings. The work prioritizes what already stresses the environment over catalog equipment that merely looks calming.
Before installing anything, map the surrounding environment for:
- Ambient noise and echo
- Glare or flickering light
- Crowding and traffic patterns
- Temperature swings
- Visual clutter
Then zone the room:
- Separate low-stimulation retreat areas from active, movement-based zones
- Keep clear sightlines for supervision
- Define a transition point at the entrance
- Store tools within reach without adding visual chaos
Choose Sensory Elements and Organize the Room
Once the brief is set, selecting sensory elements is targeted instead of guesswork.
Lighting and Visual Comfort
Fluorescent flicker, harsh glare, and busy wall patterns are among the most commonly reported lighting frustrations for autistic individuals. No single paint color works for everyone. Prioritize control:
- Dimmable, adjustable lighting instead of fixed brightness
- Indirect light sources to cut glare
- Adjustable privacy (curtains, frosted film, dividers)
- Minimal patterns on walls and floors
Acoustic Comfort
Build quiet in with surfaces and controls, not a single "calming" playlist:
- Sound-absorbing surfaces and quiet door hardware
- User-controlled options such as headphones or a sound machine
- One intentional sound source at a time—extra layers compete for attention
Tactile, Proprioceptive, and Movement Options
Select these based on the individual, not a trend:
- Varied textures and soft furnishings for grounding
- Resistance activities and stable surfaces (without trip hazards)
- Weighted or compression tools, used according to manufacturer instructions and with professional input where appropriate
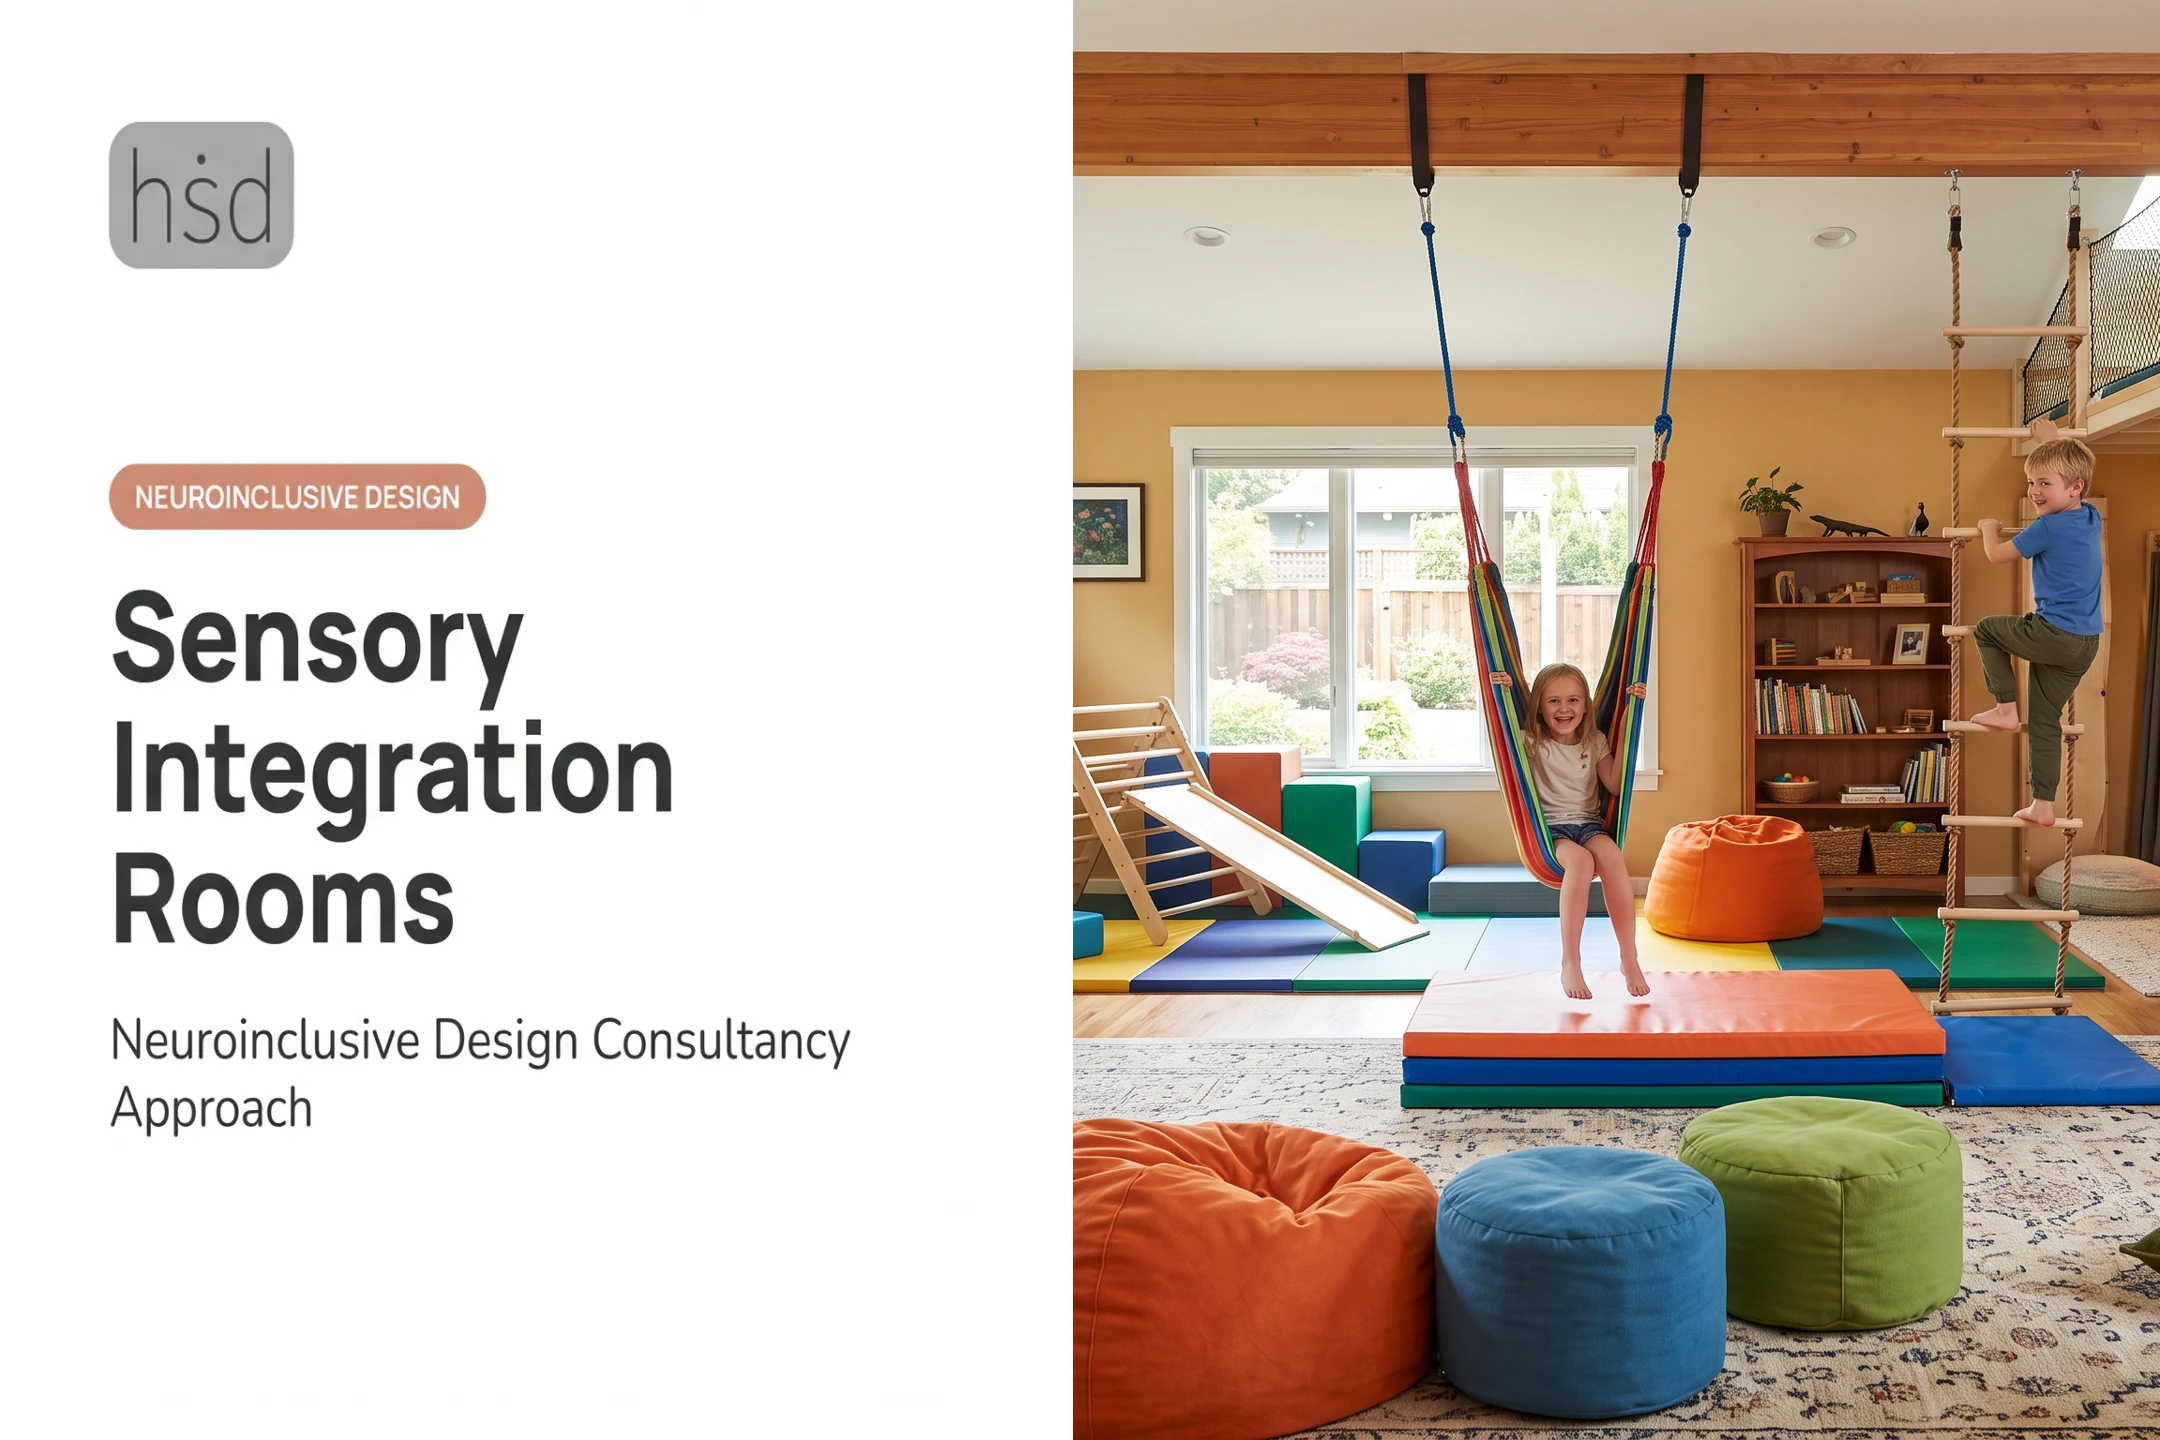
- Rocking, swinging, or floor-based movement only when mounting, impact protection, and supervision are handled properly
Interactive and Cause-and-Effect Features
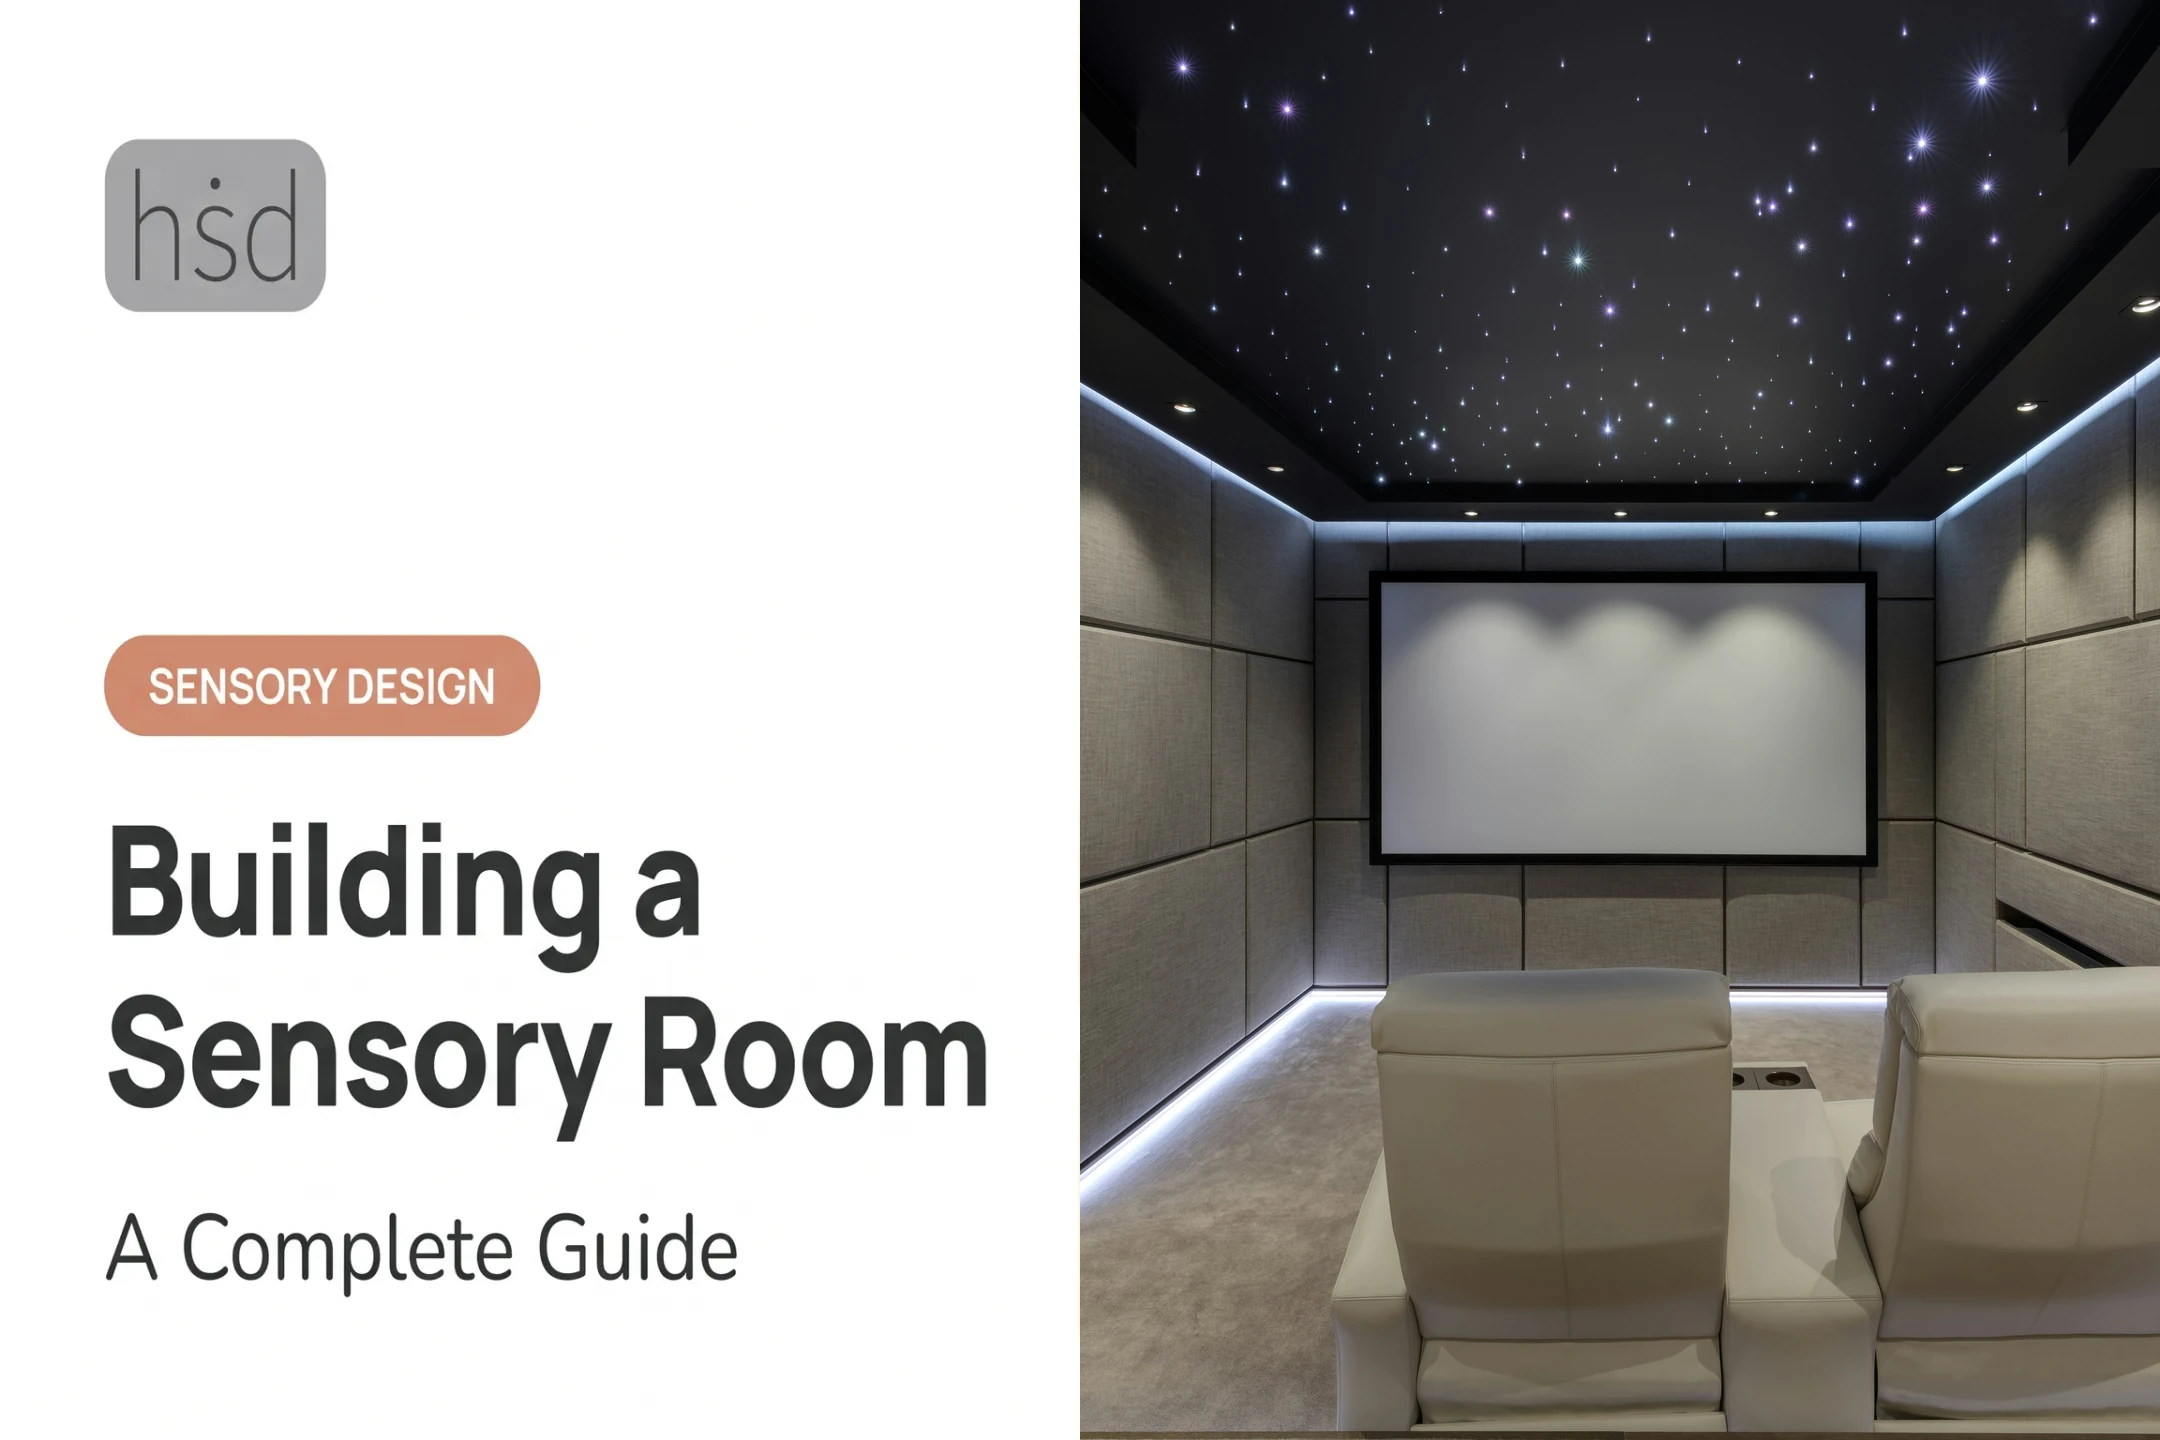
Fiber optics, bubble tubes, and switch-activated panels work well if the user controls them. Independent controls let someone increase intensity, pause, or switch to something quieter without needing to ask.
Round out the room with supportive infrastructure:
- Comfortable, accessible seating
- Visual schedules or choice boards
- Timers and cable management
- Washable, durable finishes
- A mix of fixed and movable pieces that can change as needs evolve
A 30-minute consult can cut a lot of this trial and error. Highly Sensitive Design's Neurodivergent Design Consult focuses on immediate lighting and acoustic issues for $250 and is often enough to redirect a room that has already gone sideways.
Make the Room Safe, Accessible, and Sustainable to Use
Safety planning has to happen before installation, not after something goes wrong.
Build a written safety protocol addressing:
- Supervision levels and occupancy limits
- Entry, exit, and emergency communication
- Mounting weight ratings and fall protection
- Sharp edges, entrapment risks, cords, and small parts
- Accommodations for users with mobility or communication disabilities
For suspended equipment like swings, manufacturer guidance (Southpaw, for example) requires trained staff, pre- and post-use inspection, and a documented inspection schedule. Treat that guidance as binding operational policy.
Accessibility Isn't Optional
Under the 2010 ADA Standards, accessible routes generally require at least 36 inches of clear width, and usable elements need at least 30 by 48 inches of clear floor space. They apply as soon as the room must serve someone using a wheelchair or walker.

Choose materials with health and durability in mind:
- Low-emission, low-VOC finishes (look for GREENGUARD Gold or CDPH-tested products)
- Slip-resistant, cleanable flooring
- Moisture and odor control with adequate ventilation
- Durable upholstery that survives daily use
Written Operating Rules Prevent Misuse
Put operating rules in writing covering:
- Who can use the space
- How staff supervise sessions
- How tools get selected
- How someone requests a break
- How incidents get documented
A sensory room should never function as punishment, forced isolation, a reward to be earned, or a babysitting solution. It is a proactive regulation resource. When therapy equipment or clinical goals are involved, bring in an occupational therapist instead of improvising clinical decisions.
Implement, Monitor, and Adapt the Space
A well-designed room still needs a thoughtful rollout.
Introduce it gradually:
- Give a predictable orientation with simple visual or verbal instructions
- Offer a small number of choices, not the entire room at once
- Let the person opt out. The first visit shouldn't be a full sensory experience
Once introduced, build the room into a routine while protecting autonomy. Offer planned regulation time before known transitions or overload points, then let the person identify what actually helps them. That's more sustainable than reacting only after a meltdown starts.
Track a few simple, privacy-conscious observations over time:
- Regulation state before and after use
- Which inputs were selected
- Duration of the visit
- How smoothly the transition back to the next activity went
- Any adverse reactions
Use this information to refine the room, not to label the person. Schedule regular reviews of equipment condition, cleaning, lighting, and acoustics too. Needs change, and so does gear.

For larger projects, a Sensory Environment Assessment provides recommendations across accessibility, systems, aesthetics, and future construction planning.
When a room needs more than furniture rearranging, Highly Sensitive Design's design-build service coordinates trusted affiliated contractors for electrical, lighting, or acoustic work.
Frequently Asked Questions
What does a sensory room do?
A sensory room offers controlled sensory input to support regulation, comfort, focus, transitions, or exploration. Effects vary by individual, so what calms one person may not calm another.
Why do autistic people like sensory rooms?
Some autistic people value the predictability, reduced stimulation, and personal control a sensory room offers. Not every autistic person enjoys sensory rooms, though, or responds to the same features.
What should a sensory room include?
Controllable lighting, comfortable and accessible furnishings, acoustic control, and tactile or movement options matched to the user. Storage, safety features, and genuine choice matter just as much as any single piece of equipment.
What is the best color to use in a sensory room?
There's no universal best color. Prioritize the user's visual preferences, low visual clutter, reduced glare, and adjustable lighting. Consult a professional when visual sensitivities are significant.
How long should a child be in the sensory room?
Duration depends on the child, the activity, and the goal. Follow an individualized plan and watch for whether the child returns to a regulated state, rather than sticking to a fixed timer.
How much does it cost to create a sensory room?
Costs vary widely based on room size, accessibility work, lighting and acoustic upgrades, and equipment. One documented case converted a 270-square-foot office into a sensory space for $2,500 using paint, lighting, sound treatment, and furnishings. Larger, multi-room projects run much higher.