
Introduction
An effective Early Childhood Special Education (ECSE) classroom is more than a collection of colorful centers. The layout has to help young children learn, communicate, move safely, participate, and regulate their bodies throughout the day.
Many teachers struggle with rooms that look Pinterest-perfect but create bottlenecks at transitions, overwhelm children with visual noise, or leave a child who uses a wheelchair unable to reach the sensory bin. The Individuals with Disabilities Education Act (IDEA) requires that services meet each child's documented needs, not a generic classroom template.
This guide starts with student needs and daily routines, then organizes the physical space into predictable zones with sensory-aware materials, visual supports, clear sightlines, and room to adapt. Setup is never one-and-done. It's a working system you test and adjust.
Key Takeaways
- Base layout on children's developmental, communication, sensory, and mobility needs—not a photo online.
- Define clear zones for whole-group, small-group, independent work, play, movement, and quiet regulation.
- Make schedules, communication tools, and materials accessible so the room builds independence.
- Treat your first layout as a draft. Observe, document, and refine with your team.
Start With Student Needs: The ECSE Classroom Planning Foundation
Understanding ECSE and Why Individualization Matters
Early Childhood Special Education (ECSE) typically serves children ages 3 to 5 under Part B, Section 619 of IDEA. States set eligibility and placement rules somewhat differently.
The Texas Education Agency's ECSE program description shows the common pattern: services may run in pre-K, Head Start, preschool, or home settings, and the IEP team chooses the least restrictive environment.
That variability shapes the room. One ECSE class may include children with autism, Down syndrome, developmental delays, physical disabilities, or communication disorders—often together. Build the space around the children you actually serve, not a single diagnosis.
Gather Student Information Before You Touch Furniture
Before mapping the room, review what you already know about each child:
- IEP goals, accommodations, and related services
- Communication methods, including AAC devices or picture systems
- Mobility, positioning, or physical support needs
- Self-help routines (toileting, feeding, dressing)
- Sensory preferences and known triggers
- Interests and current level of independence
Use this profile to drive layout choices. It supports—not replaces—IEP team, therapist, and administrator judgment.
Map the Daily Rhythm and Classroom Model
Furniture placement should follow the schedule, not the other way around. Walk through arrival, whole-group time, centers, small groups, therapy pull-ins or push-ins, meals, toileting, rest, outdoor time, and dismissal before you decide where anything goes.
Your classroom model changes the math, too:
- Self-contained: one lead team with consistent adult roles all day
- Blended or co-taught: shared duties between general and special educators
- Inclusive: neurodivergent and neurotypical children learning side by side
- Therapy-supported: speech, OT, or PT staff pushing in or pulling out
Whatever the model, pressure-test every area with five questions:
- What is the learning purpose?
- Who uses this space?
- What materials belong here?
- How will children know what to do?
- Can adults supervise it without leaving another activity uncovered?
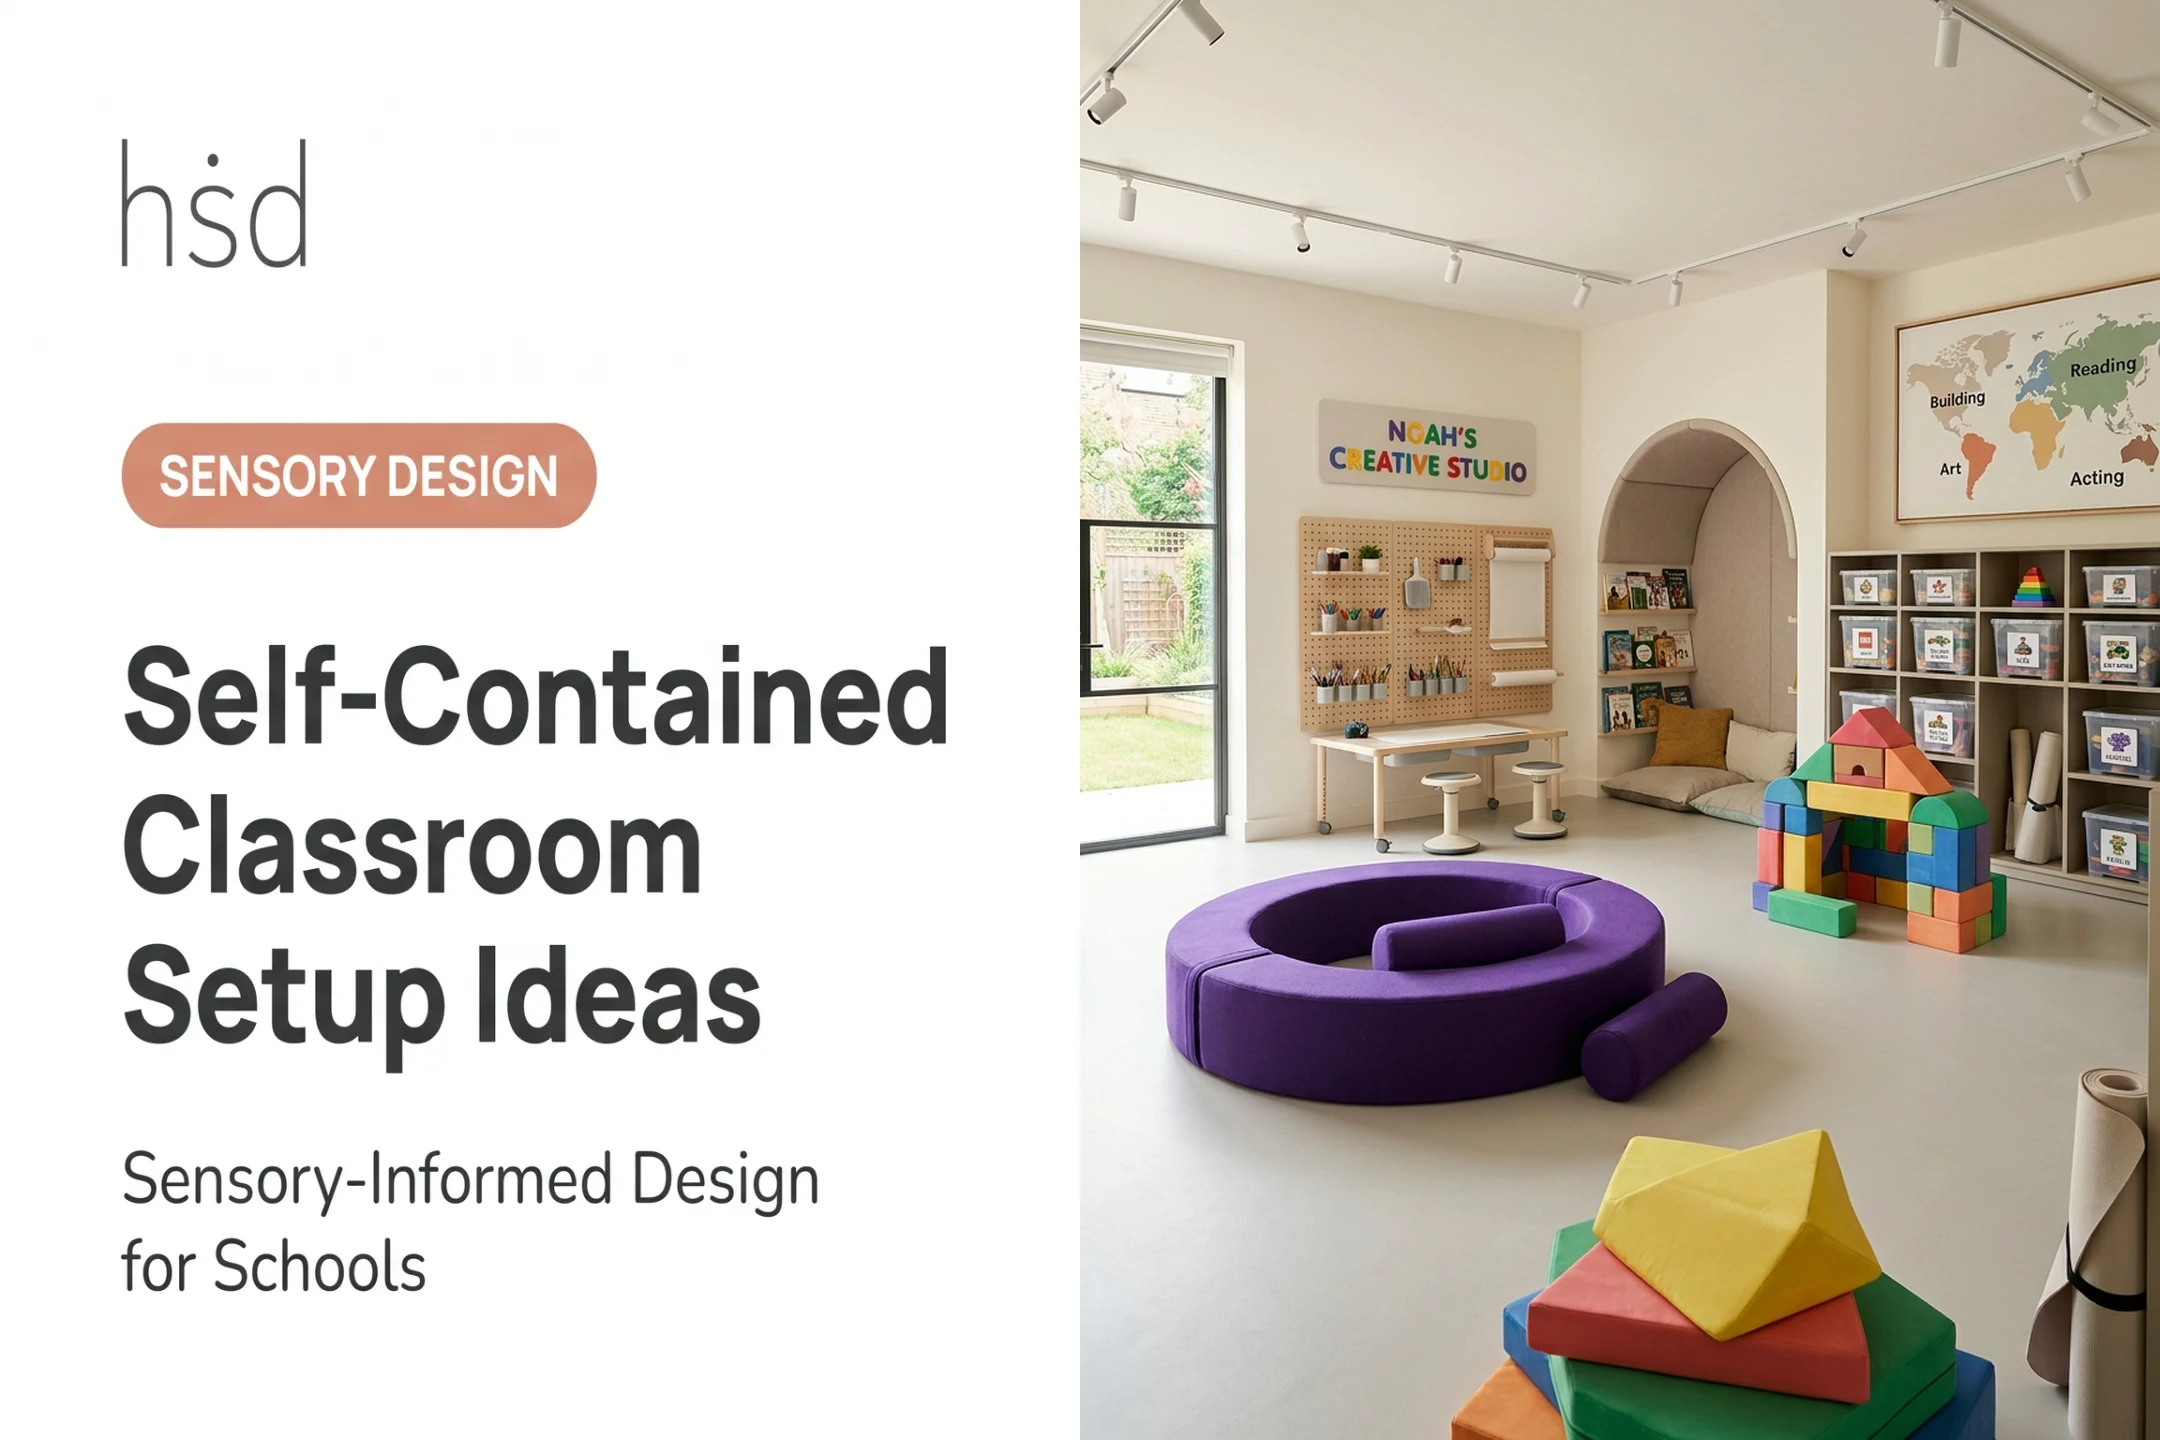
Design the Room Around Functional Zones
Map the Room Before You Move Anything
Sketch a simple floor plan first. Mark entry and exit points, windows, sinks, bathrooms, storage, outlets, and any fixed equipment that can't move. This prevents the common mistake of building a beautiful center in front of the only exit.
A widely used framework from Vanderbilt's IRIS Center early-childhood environments activity treats classrooms as three linked systems: physical, social, and temporal. Layout, group size, and routines all interact, and changing one often means adjusting the others.
Arrival, Whole-Group, and Small-Group Areas
Build the arrival and whole-group space around a few non-negotiables:
- Varied seating and positioning options
- A posted visual daily schedule
- Clear sightlines to instructional displays
- Low clutter so materials don't compete with teaching cues
For small-group and independent work, use appropriately sized tables with defined boundaries and labeled materials. Separate simultaneous activities with furniture, not distance that isolates children or blocks your view.
Play Centers and Calm Space
Common centers include:
- Dramatic play
- Blocks
- Books
- Art and writing
- Sensory exploration
- Fine-motor work
For each center, define:
- The specific skill it targets
- A manageable, rotating set of materials
- Visual cleanup cues
- A way to scale complexity up or down
Include a calm or regulation area as a supportive zone. It should stay optional and restorative—never a punishment space. Emotion visuals, soft furnishings, and simple regulation tools work best when matched to the child. Keep the space supervised rather than an unsupervised free-for-all corner.
Clear pathways still matter after centers are set. Keep adult workspaces and IEP paperwork organized so they never crowd children's learning areas or block exits and circulation routes.

Make the Classroom Sensory-Aware, Accessible, and Supportive
Assess Before You Decorate
Lighting, sound, visual density, texture, and temperature all affect whether a child can participate or shuts down. NAEYC's Developmentally Appropriate Practice framework recommends adjusting space, time, and stimulation for individual needs while avoiding over-cluttered environments.
There's no single sensory feature that benefits every child. Observe student responses in your room instead of copying someone else's sensory wall.
Cut Avoidable Overload
Practical, low-cost adjustments include:
- Controlled, purposeful wall displays instead of covering every surface
- Quiet, predictable transition routines
- Stable or soft-close furniture where it fits the budget
- Separating high-energy centers from quiet ones
Check current fire, safety, and accessibility codes before making facility changes. What's fine in one district's building may not pass in another.
Build In Communication and Independence
Picture labels, first-then boards, choice boards, and accessible AAC placement turn the room itself into a communication tool. Keep storage at child height and mark visual boundaries clearly.
Teach every visual explicitly and update it as needs change. A poster nobody was taught to use is just decoration.

Movement, Materials, and Safety
Plan floor space and materials with mobility and safety in mind:
- Leave open floor space for body breaks and position changes
- Keep pathways wide enough for mobility devices
- Verify age appropriateness, choking hazards, and cleaning requirements before you buy
When to Bring in Outside Eyes
Some sensory and accessibility questions go beyond what a classroom team can solve alone. Highly Sensitive Design offers sensory environment assessments and neuroinclusive consulting for schools and educators. That work looks at lighting, routines, accessibility, and spatial organization together rather than one fixture at a time. It's a resource to consider, not a requirement.
Set Up, Test, and Refine the Classroom
A Practical Setup Sequence
- Measure and map the room, noting fixed features
- Establish safe circulation paths first
- Place large furniture along walls to protect open floor space
- Define zones with rugs, shelving, or tape
- Add visual supports at child height
- Stock only essential materials — you can add more later
- Photograph the initial layout so you have a baseline for comparison
Teach the Room, Don't Just Build It
Children need explicit instruction on how the space works. Walk them through:
- Arrival routines
- Center expectations
- Material access and cleanup
- Requesting help and transitions
- Calm-area use
Use the same language and visual cues across every teacher and paraprofessional in the room.
Review Early and Often
In the first few weeks, watch for:
- Congestion and noise buildup
- Excess waiting time
- Materials children can't reach
- Areas nobody uses
Ask children, families, and related-service providers what's working. Then change one thing at a time and monitor the effect before changing another.

Room-Readiness Checklist
- Clear pathways with no visual blind spots
- Communication tools within reach
- Labeled, accessible storage
- Working, taught visual supports
- Materials verified for safety
- Defined zones for every daily activity
- A supervised, individualized regulation option
- Physical layout matching the actual daily schedule
Frequently Asked Questions
What is Esce?
"Esce" is a common way people write or search for ECSE (Early Childhood Special Education). These programs typically serve children ages 3 to 5 with developmental delays or disabilities through individualized supports, therapies, and specially designed instruction.
What does a special education classroom look like?
Layouts vary widely. Most include structured learning areas, visual schedules, accessible materials, play and small-group zones, an optional regulation space, and clear pathways for movement and supervision.
What are small classrooms called for special needs?
Terms include ECSE classroom, self-contained classroom, resource room, and specialized support classroom. Definitions shift by state and district, so check your local terminology alongside the child's IEP.
What are the five key elements of a learning environment?
Five elements show up across most frameworks:
- Physical safety and accessibility
- Sensory and emotional comfort
- Predictable structure
- Meaningful engagement
- Opportunities for interaction and independence