
Parents, teachers, and occupational therapy professionals can all contribute meaningfully to a sensory room project. So can architects, interior designers, facilities managers, and licensed contractors. The trick is knowing where design guidance ends and where regulated construction, clinical assessment, or structural work begins.
Skip that distinction, and things go wrong fast. Rooms designed as a shopping list of trendy equipment often end up overstimulating instead of calming, or unsafe instead of supportive. This guide walks through the full process: setting goals, planning the space, choosing equipment, installing it correctly, and keeping the room safe and effective over time.
Key Takeaways
- Design around the users' sensory profiles and goals, not a generic equipment list.
- Decide on a calming, active, or hybrid function only after assessing who will use the room and why.
- Treat swings, climbing gear, and wall-mounted or electrical items as installation tasks, not DIY afterthoughts.
- Build supervision, cleaning, and feedback routines into the room before day one.
- Confirm local building, fire, accessibility, and electrical requirements before construction starts.
Building a Sensory Room
A sensory room project generally moves through six phases: assessment and goal-setting, site planning, sensory zoning and equipment selection, installation, orientation for staff or users, and validation with ongoing adjustment.
Scope varies enormously. A calming corner in a bedroom might come together in a weekend with portable items — a bean bag, a dimmable lamp, a few tactile tools. A dedicated room in a school, clinic, residential facility, airport terminal, or community center is a different animal, often requiring architectural coordination, procurement, construction crews, and staff training before it opens.
Newark Liberty International Airport's second post-screening sensory room, a 1,400-square-foot space with an aircraft-cabin replica and interactive bubble tubes, illustrates the larger end of that spectrum. Detroit Metro's Multi-Sensory Room, capped at six occupants and open 24/7 near Gate A36, shows a similarly deliberate, code-conscious build. Neither happened by simply buying equipment and placing it in a room.
Prerequisites and Safety Considerations
Before any equipment gets ordered, define who the room is for.
Users: ages, sensory preferences, mobility needs, communication styles, and supervision requirements.
Collaborators: caregivers, teachers, and occupational therapy professionals when individualized sensory-processing needs are involved.
Functional goals: decompression, transition support, movement, focus, or recovery from sensory overload.
The American Occupational Therapy Association notes that OT practitioners should not provide sensory-based interventions to children without documented assessment results. Keep that boundary in mind when a room serves clinical goals rather than general comfort. A sensory room can support these outcomes; it can't guarantee a meltdown will never happen, and it isn't a replacement for therapy.
Once goals are clear, assess the physical site:
- Room size, shape, and clear circulation paths
- Sightlines for supervision, door swing, and egress
- Flooring, ceiling, and wall structure
- Acoustics, lighting controls, and ventilation
- Outlet locations, storage, and proximity to support staff
Then check the regulatory layer. This typically includes local building and fire codes, the 2010 ADA Standards for Accessible Design, electrical code requirements, occupancy classifications, workplace or school policies, infection-control procedures, and manufacturer installation instructions.
The ADA Standards apply to fixed and built-in elements: accessible routes, clear floor space, turning space, and reachable operable parts. That matters the moment equipment stops being portable.
Non-negotiable: don't install anything suspended, climbing, heavy, electrical, or wall-mounted until load capacity, attachment method, fall zones, and clearances have been confirmed by someone qualified to confirm them.
Sensory Room Types and Layout
Most sensory rooms fall into three categories:
| Type | Primary purpose | Typical elements |
|---|---|---|
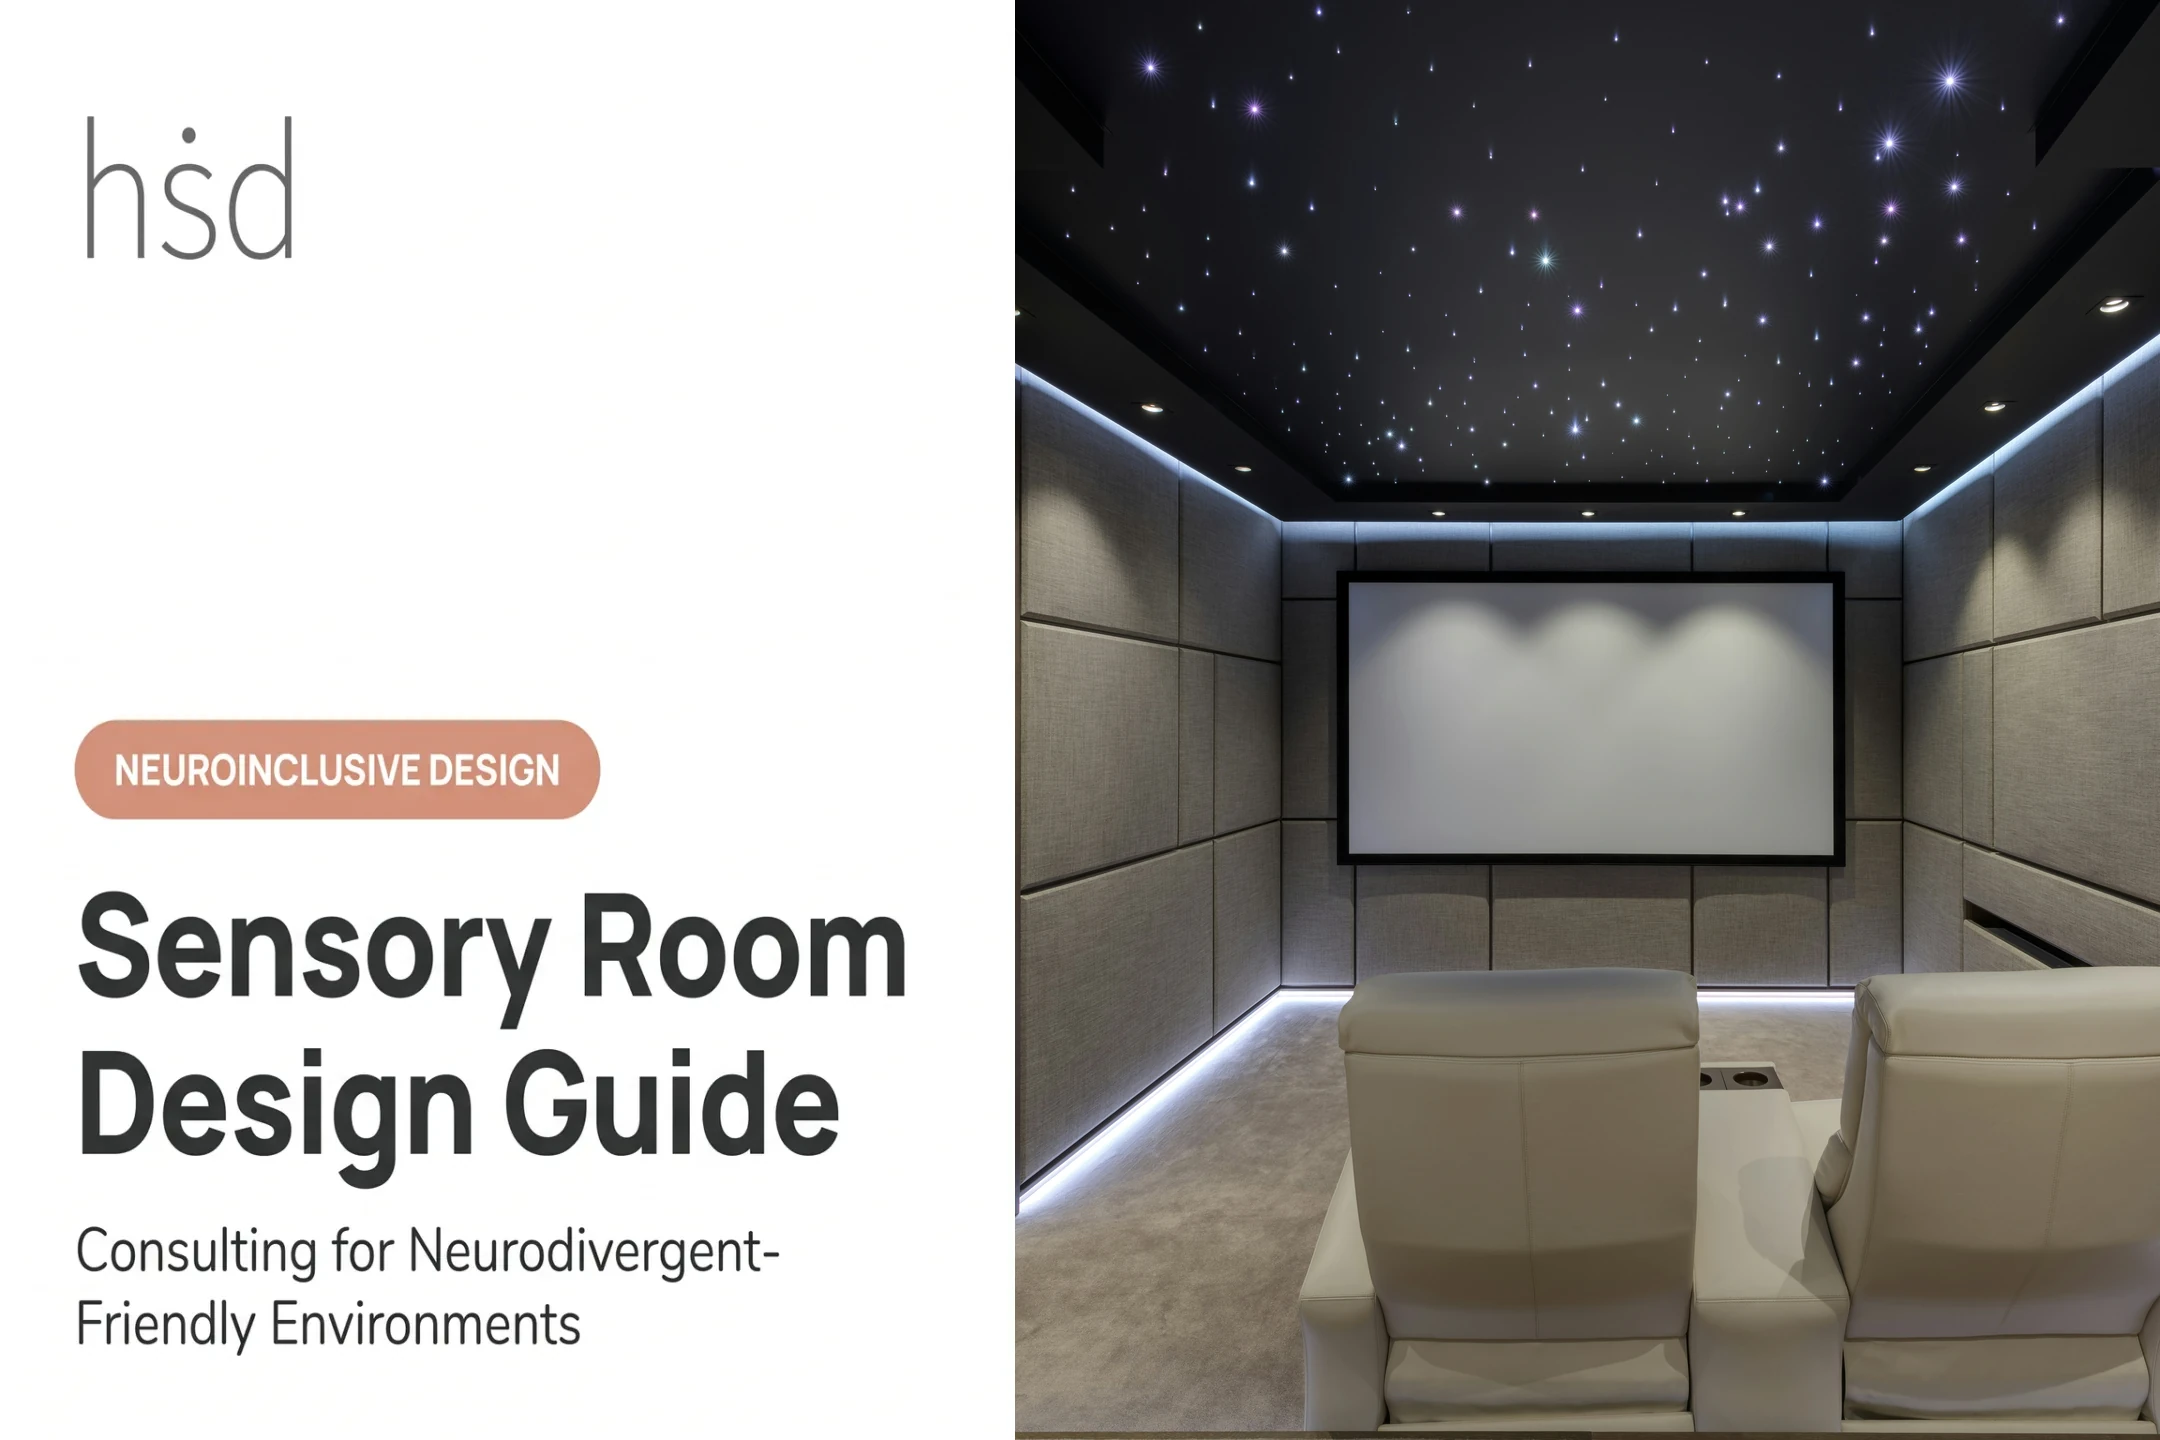
| Calming | Regulation, decompression, rest | Dim adjustable lighting, soft seating, weighted items, quiet corners |
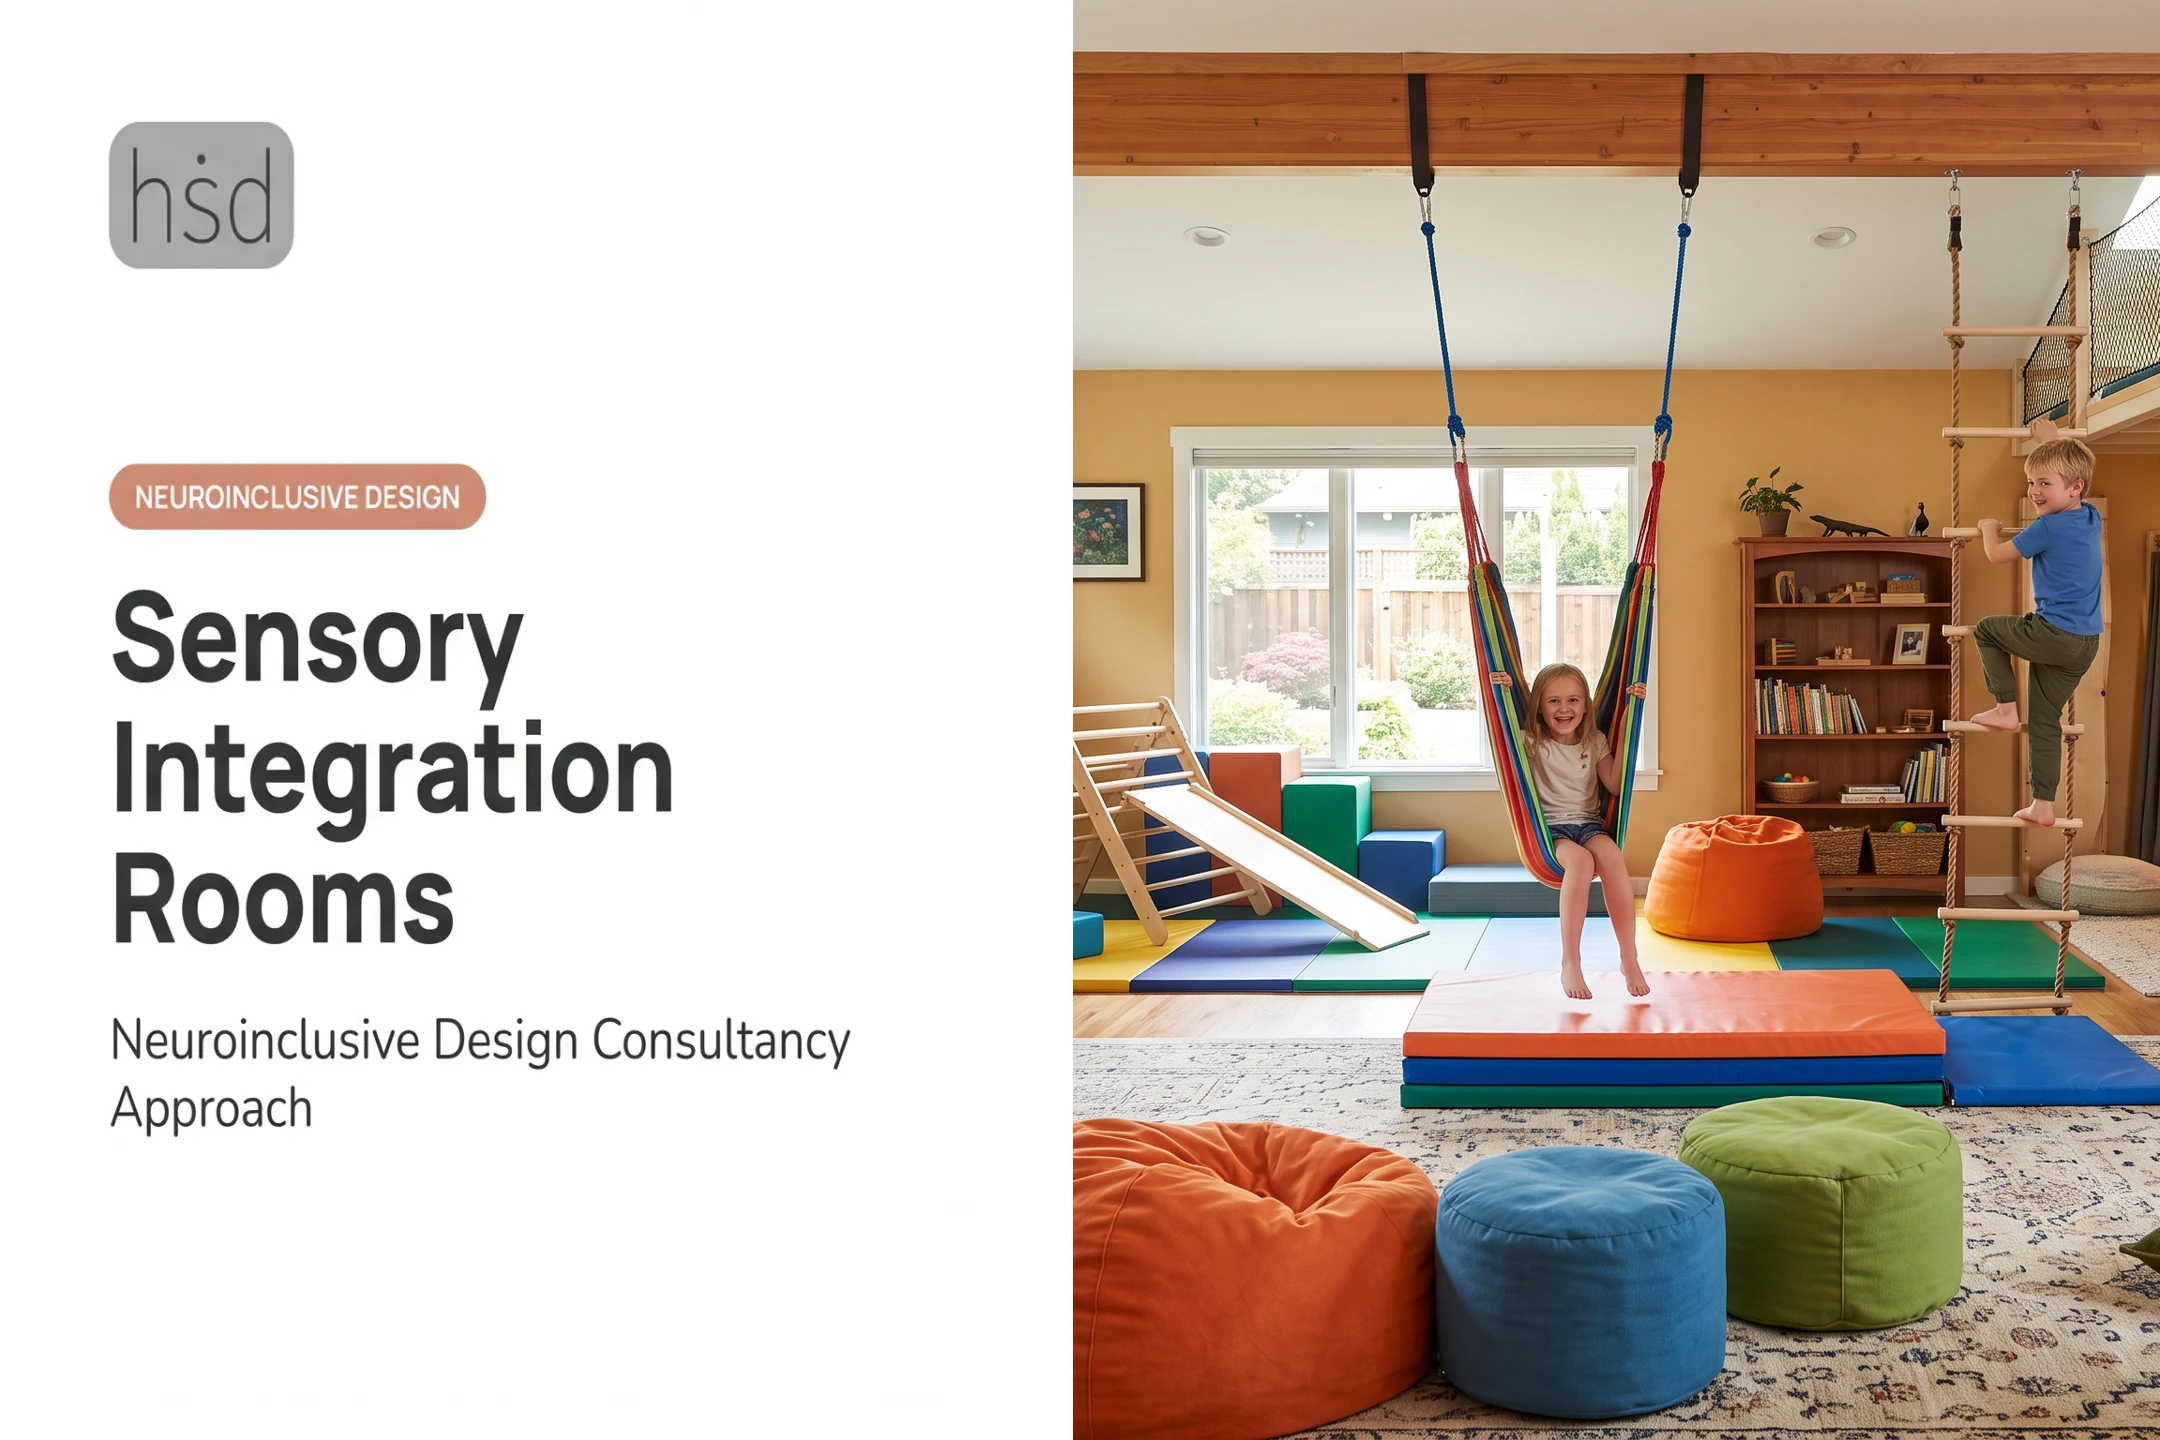
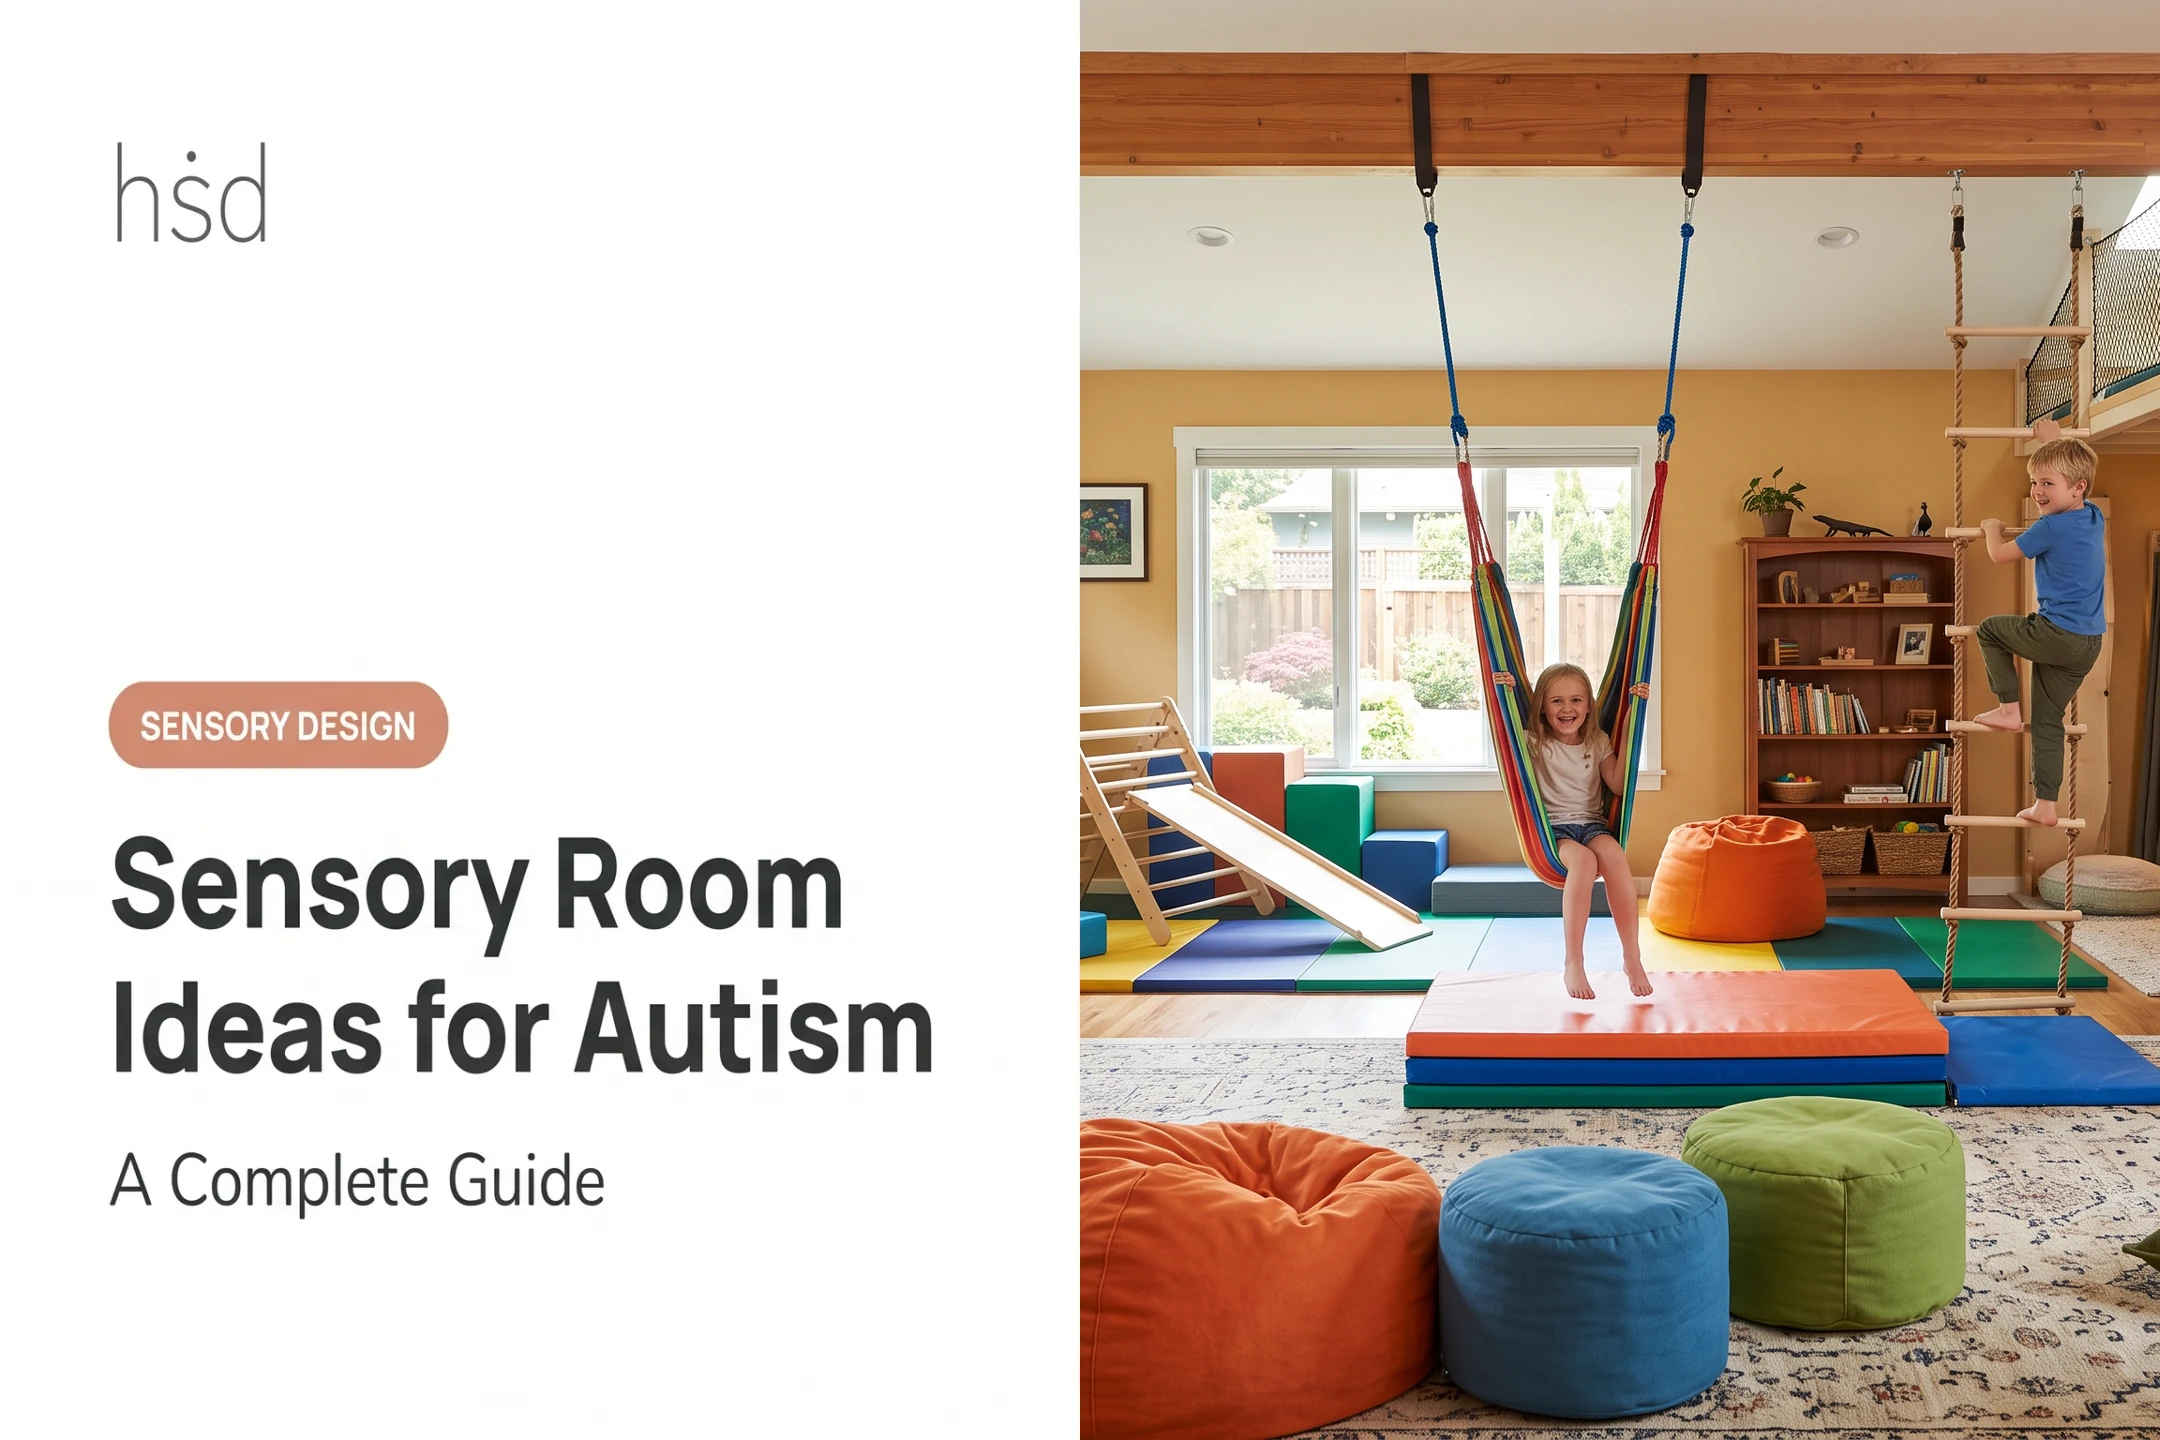
| Active | Movement, heavy work, alerting input | Swings, climbing walls, crash pads, trampolines |
| Hybrid | Both, in separated zones | Distinct movement and quiet areas with a clear transition space |
A hybrid room only works if the active and low-stimulation zones don't compete. Placing a swing next to a quiet reading nook defeats the purpose of both.
Beyond the calming-versus-active split, functional zoning matters just as much:
- Entry and transition space
- Movement or heavy-work area
- Quiet retreat zone
- Tactile exploration station
- Seating
- Storage
- A spot with clear sightlines for caregiver or staff visibility
Design for accessibility from the start: clear pathways, reachable controls, varied seating and positioning options, visual schedules, and predictable organization. A room that only works for one body type or communication style isn't finished yet.
Keep the base environment restrained: adjustable lighting, controlled sound, low visual clutter, and comfortable temperatures.
Materials matter too. UL's GREENGUARD Gold certification screens for lower VOC limits across hundreds of chemicals and is flagged for sensitive settings like schools and nurseries. Check it when selecting flooring, paint, or upholstery so the room reduces sensory stress rather than adding chemical load.
Tools and Parts Required
The final list depends entirely on room type and user profile, but most projects draw from three categories:
Portable essentials (caregiver or staff can place these):
- Weighted blankets, tactile tools, fidgets
- Visual supports and timers
- Cleaning supplies and signage
Room-support materials:
- Impact-absorbing mats or flooring
- Dimmable or app-controlled lighting
- Acoustic panels
- Storage bins and shelving
Fixed-installation components (require licensed or manufacturer-authorized expertise):
- Ceiling-mounted swings
- Climbing structures
- Wall-anchored panels or mirrors
- Any new electrical circuits
Never improvise a ceiling attachment or substitute unverified hardware for what the manufacturer specifies. That's true whether the swing came from a specialty sensory equipment catalog or a big-box store.
How to Build and Install the Sensory Room
- Draft a scaled plan showing zones, circulation, egress paths, supervision sightlines, equipment clearances, power needs, and storage.
- Prepare the room — resolve hazards, protect or modify surfaces, control unwanted light and sound, and document existing walls, ceilings, outlets, and fixtures before anything changes.
- Place low-risk, portable elements first: seating, storage, mats, and visual supports, positioned so users aren't crossing active movement paths to reach them.
- Bring in fixed elements last, and only after verifying manufacturer instructions, structural support, fall zones, electrical requirements, anchoring, and accessibility. This is where a contractor, electrician, or structural engineer typically enters the project.
- Activate features gradually. Don't flip every light, sound, and movement option on at once. Test each with the intended users and adjust control locations based on what actually works.
- Write an operating plan: who may use the room, supervision expectations, entry and exit routines, time limits where relevant, cleaning schedules, incident reporting, and how users can request or decline specific inputs.

A study of 41 autistic children using multi-sensory environments found that when kids could control the sensory equipment themselves, they showed more focused attention, fewer repetitive behaviors, and lower activity levels overall. That's a strong argument for building user-facing controls into the plan from the beginning, not bolting them on afterward.
Post-Installation Checks and Validation
Before opening the room, run through a structured check:
- Visual and structural: loose hardware, sharp edges, unstable furniture, exposed cords, damaged surfaces, blocked paths, inadequate impact protection.
- Function testing: each element alone and in combination. Can lighting and sound actually be reduced? Do controls make sense to a first-time user?
- Observed use: bring in representative users and staff. Does the room support the intended goals, preserve dignity, and allow safe supervision?
Set a review cycle for feedback, incident records, equipment condition, and changing needs. And keep this in mind: code compliance, structural adequacy, and clinical suitability all need sign-off from qualified professionals for your specific project. No blog post — including this one — can substitute for that.
Common Installation Problems and Fixes
Most sensory room problems trace back to one of four root causes. Here's how to spot and fix them without bypassing manufacturer instructions or local code.
Issue 1: The room is overstimulating instead of regulating
Problem: Too many lights, sounds, colors, and movement options run simultaneously, and users leave more dysregulated than they arrived.
Likely cause: The design started with an equipment wish list instead of sensory goals and zoning.
Fix: Prioritize regulation over equipment count:
- Remove competing inputs so only one primary stimulus runs at a time
- Separate active and calming areas physically
- Add inputs one at a time and keep what user feedback supports
Issue 2: Equipment is unstable, inaccessible, or unsafe
Problem: A swing, wall panel, mirror, or heavy fixture shifts, tips, or blocks circulation.
Likely cause: Incorrect anchoring, no structural review, missing fall zones, or ignored manufacturer instructions. The CPSC's Public Playground Safety Handbook specifies use zones for moving equipment like swings. That principle is worth applying indoors even though the handbook targets outdoor playgrounds.
Fix: Treat this as a safety stop:
- Stop use immediately and isolate the hazard
- Get a qualified inspection and correct the installation
- Document the repair before reopening

Issue 3: The room becomes a reward, punishment, or unsupervised space
Problem: Users get sent there only after a meltdown, use it to dodge activities, or are left without support.
Likely cause: No shared operating protocol, unclear purpose, or missing staff training.
Fix: Lock in shared operating rules:
- Define proactive and responsive use cases
- Train staff on purpose, entry/exit routines, and supervision level
- Track how the room is actually used and adjust the protocol
Issue 4: The room is hard to maintain or excludes some users
Problem: Materials resist cleaning, tools go missing, noise leaks into adjacent spaces, or the layout doesn't accommodate different mobility needs.
Likely cause: Maintenance, acoustics, and accessibility were treated as afterthoughts during design.
Fix: Design for upkeep and access from the start:
- Choose durable, cleanable materials
- Build a maintenance schedule and parts inventory
- Improve acoustic separation from adjacent spaces
- Reassess the layout with users who have different mobility and access needs
Pro Tips for Building a Sensory Room Effectively
- Start small. Assemble a testable sensory corner with portable items before committing to construction. A short feedback period tells you which inputs are actually useful versus which just looked good in a catalog.
- Favor adjustable, reversible features: movable seating, controllable lighting, modular storage, and removable tactile tools. Flexibility now saves rework later.
- Document everything: the room plan, equipment inventory, manufacturer instructions, inspection records, cleaning schedule, staff guidance, and emergency contacts.
- Bring in the right specialists at the right time. An occupational therapy professional can shape sensory-use recommendations; an architect, engineer, electrician, or equipment installer handles anything structural or regulated.
That specialist handoff is where many projects stall: needs are clear, but the buildable plan is not. Highly Sensitive Design works in that gap. Founder Shell Li, a licensed architect and neurodivergent parent, developed the firm's Sensory Environment Assessment to map existing spaces for sensory triggers, accessibility gaps, and code considerations.
The process produces drawings and reports that function like an RFP for whatever comes next. For clients within a two-hour drive of New York City, the firm's design-build service also connects those recommendations to trusted affiliated contractors, so the handoff from plan to construction stays intact.

Conclusion
A sensory room earns its place when it safely, accessibly, and consistently supports the people using it, day after day—not only on opening day.
That takes a few non-negotiables:
- Careful assessment before you buy or build
- Restrained design choices over equipment overload
- Qualified installation for anything structural or electrical
- Clear operating protocols for staff and caregivers
- Ongoing adjustments as needs change
None of that is optional if the room is meant to do real work.
For multi-user spaces, complex equipment, accessibility requirements, or structural renovation, get individualized design guidance before the first wall panel goes up. Early input prevents costly rework and keeps the room usable for the people it was built to serve.
Frequently Asked Questions
What are the rules and regulations for using a sensory room?
Rules vary by setting and jurisdiction. Check building, fire, accessibility, electrical, occupancy, supervision, and sanitation rules that apply to your space. Confirm workplace or school requirements with qualified local professionals before you finalize the plan.
What is the purpose of a sensory room?
A sensory room is a designed environment that supports regulation, sensory access, focus, transitions, decompression, or safe movement. It is tailored to individual needs, not a generic template.
Should a sensory room be calming, active, or both?
It depends on user goals and sensory profiles. Calming rooms support decompression, active rooms support movement and alerting input, and hybrid rooms do both in clearly separated zones.
What equipment should be included in a sensory room?
Equipment isn't universal. Common options include adjustable lighting, seating, tactile tools, sound supports, mats, movement equipment, storage, and visual supports, selected for the specific users involved.
Can I build a sensory room at home without professional help?
A low-risk sensory corner with portable items is manageable solo. Anything suspended, structural, electrical, climbing, or heavy requires qualified professionals to confirm safety and compliance.
How do you keep a sensory room safe and effective?
Combine supervision, clear routines, safe equipment use, regular cleaning, and periodic inspection. Document incidents and gather user feedback. Never treat the room as a free-for-all or a punishment space.