
Introduction
A classroom is a sensory environment as well as a learning environment. Buzzing fluorescent lights, scraping chairs, overlapping conversations, and crowded bulletin boards all compete for a student's attention before the lesson even starts. For some kids, that competition decides whether they're ready to participate at all.
Sensory-friendly design supports autistic students, kids with ADHD, highly sensitive children, and plenty of others without a diagnosis on file. The CDC reports that 7 million U.S. children ages 3-17, or 11.7%, currently have ADHD, and countless more experience sensory sensitivities that never get formally documented.
No two students process a room the same way. A dim, quiet corner might calm one child and completely disengage another.
This guide walks through a practical process:
- Audit the room as it exists today
- Reduce avoidable stressors
- Add flexible choices
- Build predictable routines
- Check the results with students, families, and specialists
Key Takeaways
- Design for varied input, clear organization, and real choices—not silence or a stimulation-free room
- Start with a sensory audit and direct observation before buying any equipment
- Prioritize lighting, acoustics, visual clutter, movement options, transitions, and a calm retreat
- Treat sensory tools as regulation supports, never rewards, punishments, or stand-ins for individualized plans
- Reassess regularly, since sensory needs shift with schedules, fatigue, and classroom composition
How to Create a Sensory-Friendly Classroom
Building a sensory-friendly space takes ongoing attention, not a one-time renovation. Use a five-step process that starts with observation, not shopping carts.
Step 1: Conduct a Sensory and Participation Audit
Watch the room across a full day, not just during instruction. Arrival, transitions, group work, lunch, and dismissal all carry different sensory loads.
Look for common triggers:
- Glare or flicker from overhead lighting
- Echoes or unpredictable noise
- Crowding near doors, shelves, or high-traffic zones
- Strong smells from cleaning products, food, or materials
- Visual clutter on walls and open shelving
- Uncomfortable textures on seating or flooring
Talk to students directly, using age-appropriate conversations, choice boards, visual rating scales, or their existing communication supports. Loop in families, special educators, and occupational therapists where possible.
A Sensory Environment Assessment maps sensory, spatial, and accessibility conditions systematically rather than treating a student as the "problem." That structured pass is built for exactly this stage.
Document what happens before and after signs of distress or withdrawal. This separates environmental barriers from assumptions about behavior.
Step 2: Organize the Room Into Predictable Sensory Zones
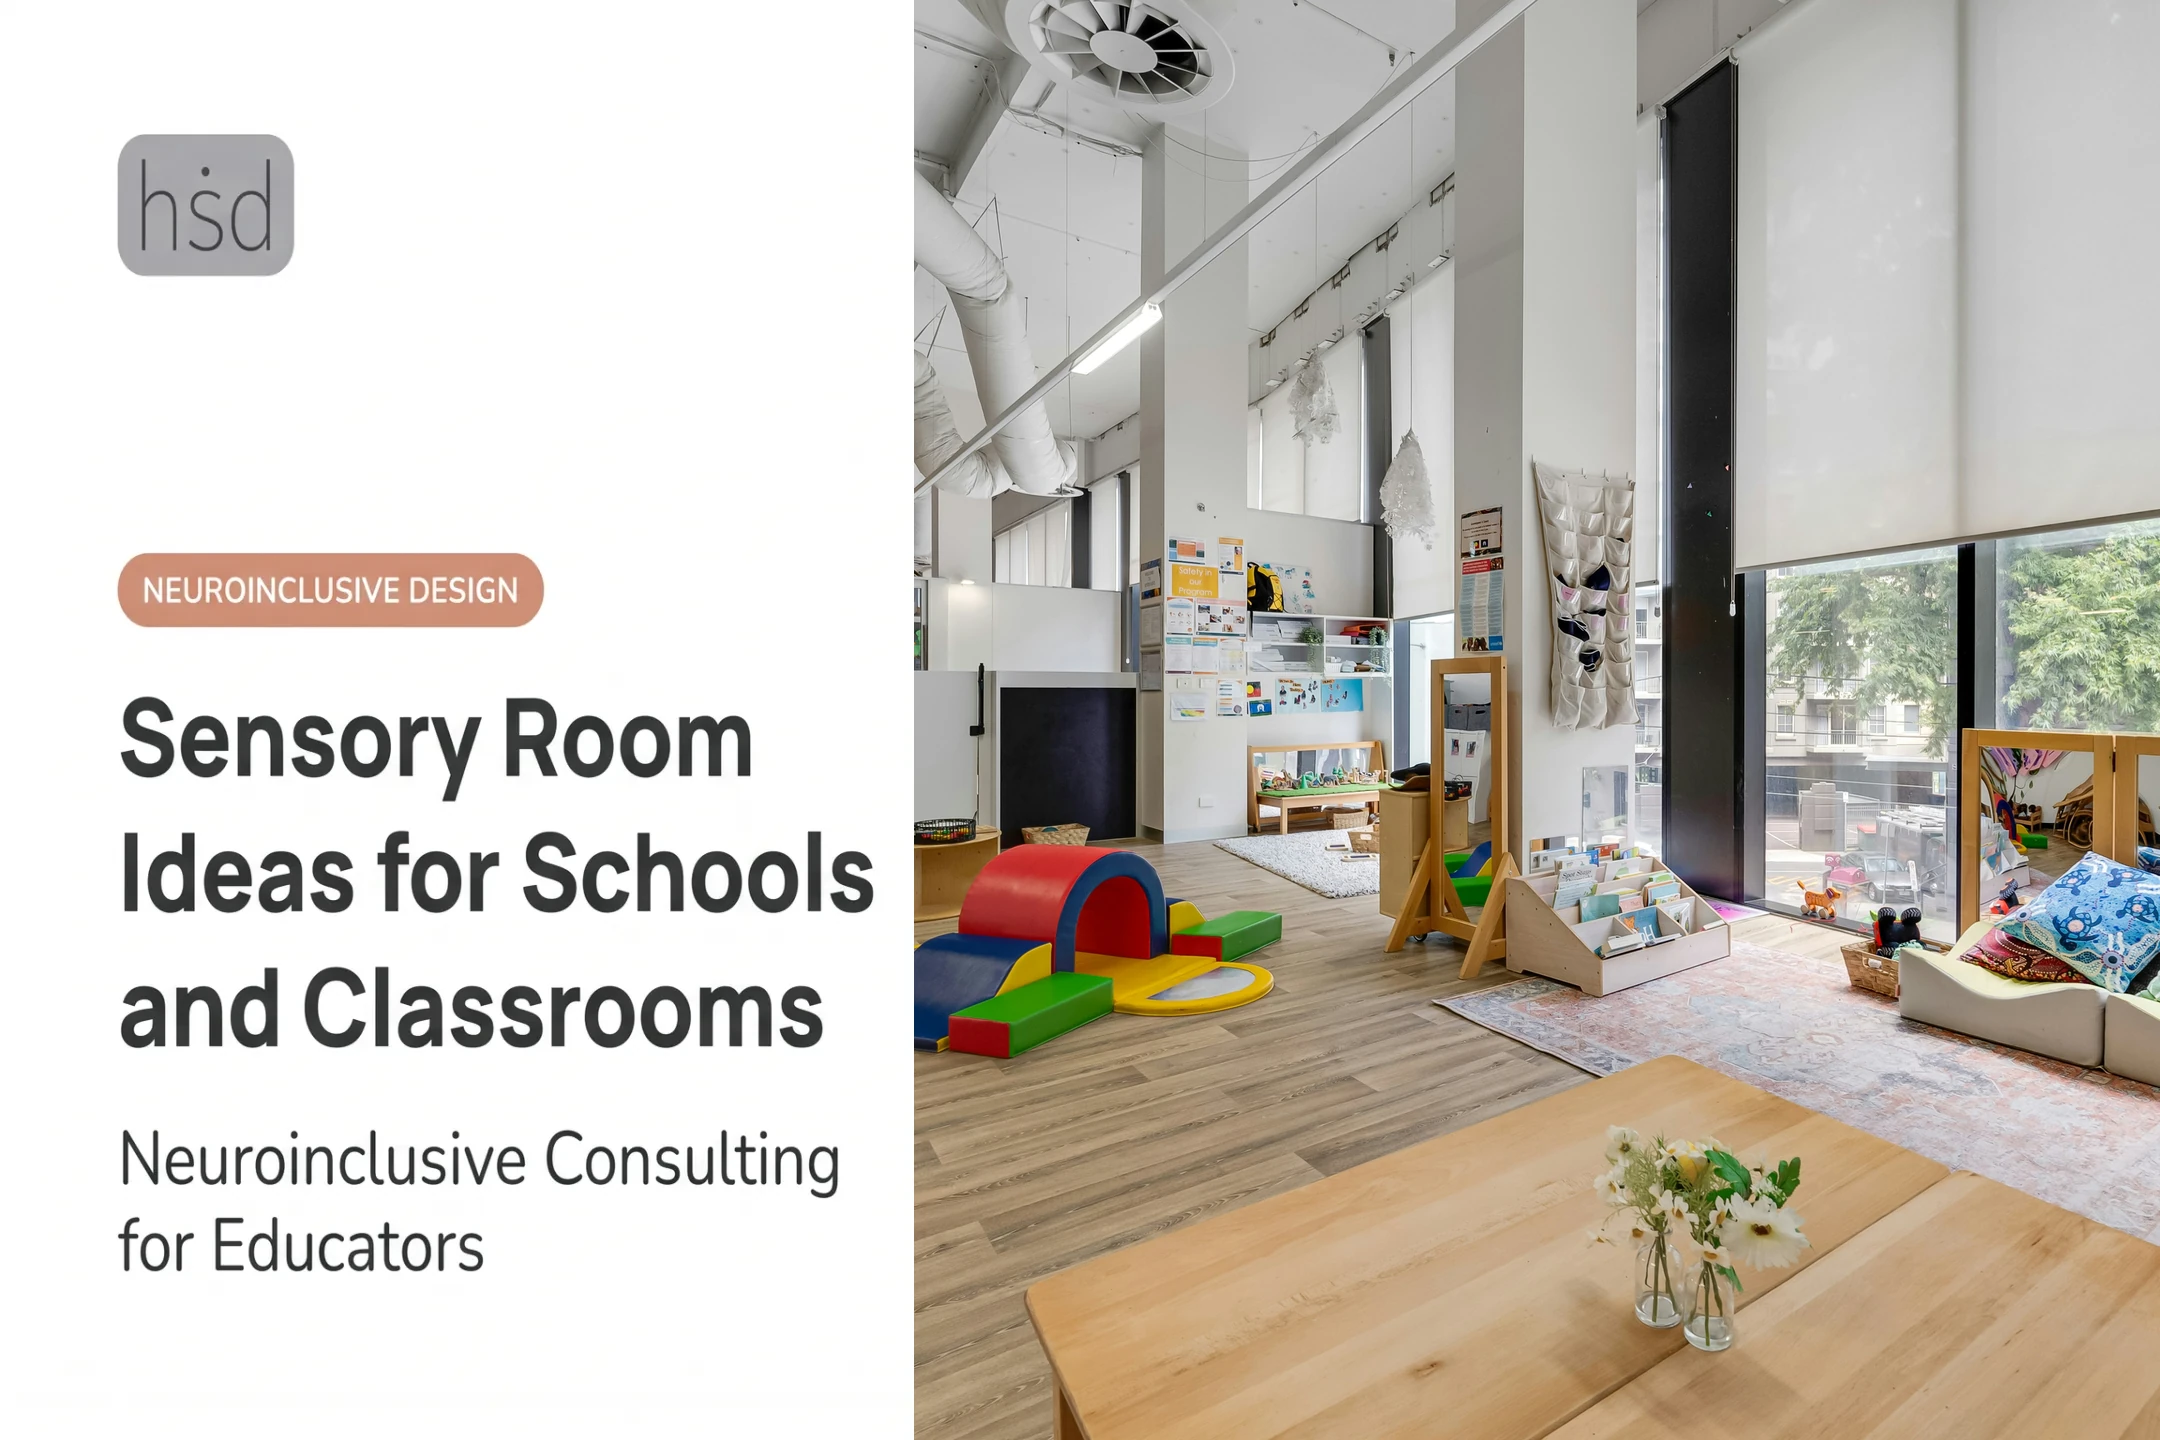
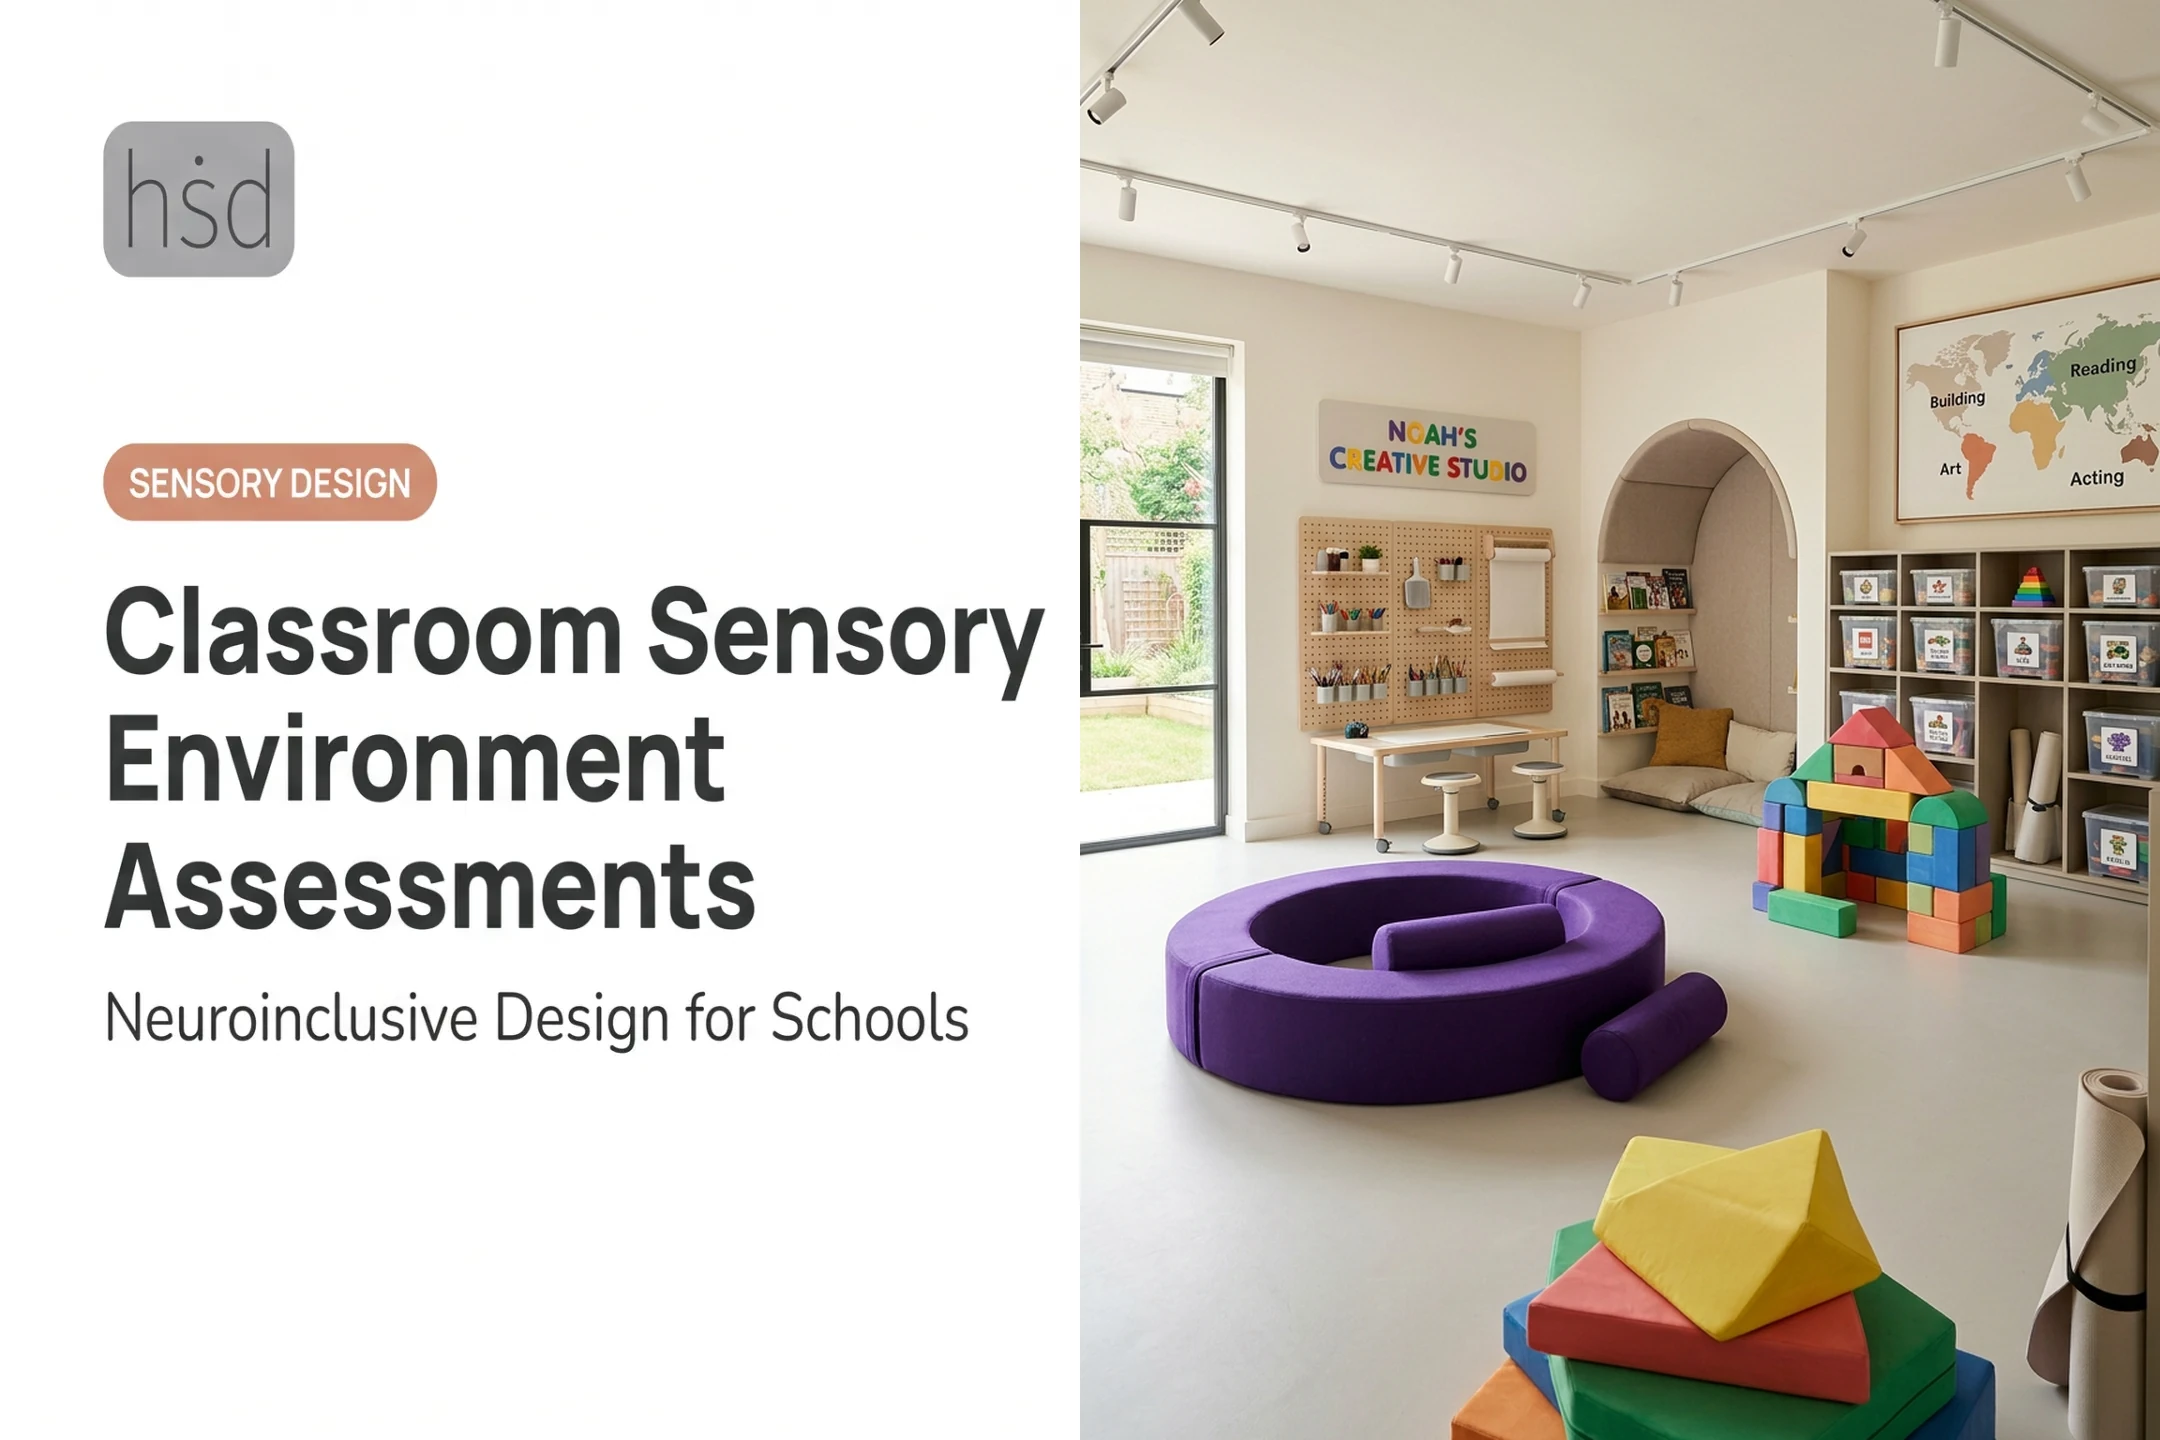
Give each area a clear job: quiet individual work, collaborative activity, movement, hands-on or messy learning, storage, and regulation. When students know what a space is for, they need less guesswork to use it correctly.
Keep pathways, exits, and teacher sightlines clear. ADA standards treat classrooms as covered assembly areas, meaning accessible routes and clearances must survive any furniture rearranging.
Consistent visual labels and simple boundaries (a rug edge, a shelf, a strip of tape) help students locate materials with less cognitive effort.
Step 3: Reduce Avoidable Sensory Load
Three areas usually cause the most friction:
- Lighting: Maximize natural or diffused light, fix glare and flicker, and explore school-approved alternatives to harsh overhead fixtures
- Acoustics: Add rugs, felt pads on chair legs, and soft furnishings to cut echo; warn before bells or loud transitions
- Visual clutter: Curate wall displays, tidy open storage, and show materials only when relevant to the lesson
A 2017 observational study of four autism classrooms found that higher ambient decibel levels correlated with more observed repetitive or distress-related behaviors.
None of this requires a full renovation. Small, testable changes come first.
Step 4: Add Flexible Supports and a Regulation Space
Offer more than one way to sit, stand, or work, then teach students how to choose safely. A designated calm corner needs clear entry and exit expectations, comfortable seating, reduced visual and auditory input, and a small set of optional tools.
Select tools based on observed need, not assumption. Headphones, fidgets, weighted items, and movement equipment don't help everyone; some students find them more distracting than calming. Collaboration with occupational therapists and special educators pays off here: match the tool to the student, not the trend.
Step 5: Build Predictability Into Instruction and Transitions
Visual schedules, first-then boards, timers, and transition warnings make change easier to anticipate. Schedule movement breaks proactively, before a student is already overwhelmed, and explain that participation can flex with need.
Then review what actually worked. Keep supports that improve access. Revise or remove anything that distracts, stigmatizes, or increases distress.

When and Why to Create or Adapt a Sensory-Friendly Classroom
Sensory-friendly design earns its place when students show repeated difficulty with:
- Noise, lighting, or crowding
- Transitions between activities
- Sustained attention or classroom participation
- Recovery after recess, assemblies, or other busy periods
This kind of proactive support benefits inclusive classrooms, early childhood settings, special education rooms, private schools, and pediatric therapy clinics — anywhere students with different sensory preferences share a room.
A public school running a NEST-style program, for instance, has to support neurodivergent and neurotypical students in the same space. That shared setting makes environmental planning even more important.
Focus on access, predictability, choice, and room to regulate. You do not need a stimulation-free classroom or an identical layout in every school.
Bring in outside expertise when:
- Distress is persistent or safety-related
- Elopement risk is present
- Communication needs are significant
- A medical or occupational issue is suspected
- Changes could affect fire safety, supervision, or accessibility compliance
What You Need Before and During Implementation
Equipment and Systems to Check First
Before buying anything, review what's already in the room:
- Lighting and room controls
- Ventilation and acoustics
- Furniture and storage
- Technology and flooring
Prioritize low-cost adjustments you can test before committing to bigger purchases. Any new seating, partitions, or sound-dampening materials need to meet school purchasing rules, accessibility requirements, and cleaning standards.
Building a Student Sensory Profile
Prepare a sensory-preference profile for each student as a working reference, not a fixed label. Include:
- Helpful and stressful sensory inputs
- Preferred communication methods
- Break preferences and early signs of overload
Stock a modest, organized selection of optional supports:
- Visual schedules
- Quiet fidgets
- Movement choices
- Ear protection
- Tactile materials
Set a simple plan for cleaning and replacement so tools stay safe and available.
Staff Training and Compliance
Profiles only help when adults know how to use them. Train staff to:
- Read distress as communication
- Offer choices without coercion
- Supervise regulation spaces respectfully
Every intervention should follow the student's individual education, health, and emergency plans. Consult qualified professionals before introducing weighted, oral-motor, or physically restrictive tools — and never use sensory equipment to restrain, isolate, or punish a student.
When equipment, profiles, and staff practices are in place, some schools still need design help tying the room together. For schools that want architectural, educational, and environmental recommendations coordinated in one process, Highly Sensitive Design offers a 30-minute neurodivergent design consultation focused on lighting, acoustics, and transition planning. It is a practical starting point before a larger classroom project begins.

Key Parameters That Affect Results
The same classroom change can help one student and hinder another. Results depend on the student's sensory profile, the activity, the time of day, how much control they have, and how consistently the change is applied.
| Parameter | What Influences It | Practical Takeaway |
|---|---|---|
| Lighting & visual stimulation | Glare, flicker, brightness, wall displays, open storage | Reduce fluorescent flicker and dense displays; test before replacing fixtures |
| Acoustic environment | Background hum, reverberation, bells, overlapping conversation | Measure or estimate noise levels; prepare students for unavoidable sounds |
| Spatial layout | Circulation paths, furniture placement, personal space | Keep quieter locations accessible; avoid unnecessary crowding |
| Movement & regulation | Standing, stretching, flexible seating, brief activity | Offer as choice, not requirement; supervise and individualize |
| Predictability & control | Visual schedules, transition warnings, control over choices | Teach the tool alongside using it; a schedule alone rarely does the job |
Visual displays deserve special mention. Dense classroom walls can pull attention away from lessons for some students far more than others, which is exactly why "curated" beats "decorated" in a sensory-friendly room.
Common Mistakes, Troubleshooting Issues, and Alternatives
Even careful sensory upgrades can backfire. These pitfalls and fixes keep changes helpful rather than overwhelming.
Buying products before auditing the room. Popular sensory tools bought without observation often create clutter, miss student needs, and make a classroom more stimulating.
Treating the calm corner as a timeout. Forced removal, lack of privacy, or unclear rules turn a regulation space into a punishment. Nebraska Department of Education guidance is clear: calming is a taught skill, and a calming corner must never function as timeout or punishment.
Every student should understand the space as an optional resource, not a consequence.
Students remain distressed after changes are made. Possible causes:
- An unrecognized trigger
- A tool that's overstimulating rather than calming
- Inconsistent adult responses
- Fatigue, pain, or a communication barrier
Review these patterns with the student and relevant professionals before adding more equipment.
Sensory supports become distracting. Check timing, fit, noise level, and whether the student actually chose the support. Rotate or remove it if it's no longer improving participation.
If a full room redesign isn't the right move, two alternatives are worth considering:
- Targeted accommodations — A smaller intervention, individual seating plan, or occupational therapy consult may serve a student better than a full room redesign.
- Universal design plus individualized planning — Flexible, low-stimulation design benefits the whole class, but it should complement individual education plans and family input, not replace them.

Conclusion
Creating a sensory-friendly classroom starts with observation and student voice, not a shopping list. From there, manageable changes to layout, lighting, acoustics, and routines add up.
The most effective classroom balances learning, inclusion, safety, autonomy, and sensory access. It does not chase a single "perfect" design. When a project involves major renovations, multiple user groups, or complex support needs, a neuroinclusive design specialist can help. Highly Sensitive Design works with schools and clinics to coordinate architectural, educational, and sensory recommendations in one process so teams are not piecing it together alone.
Frequently Asked Questions
What is a sensory-friendly classroom?
A sensory-friendly classroom reduces avoidable sensory barriers while offering predictable routines, flexible participation, varied sensory zones, and respectful regulation supports. The goal is access and choice—not stripping the room of all stimulation.
What is the best way to set up a classroom for autistic students?
Start with the individual student's preferences and support plan. Then address layout, lighting, acoustics, visual organization, transitions, movement options, and access to a calm space—in that order.
What are some must-haves for a sensory classroom?
Core must-haves include clear organization, adjustable lighting, noise-reduction options, flexible seating or movement choices, visual schedules, and an optional calm area. Beyond that, tools should match the students who actually use the room.
What are some good ideas for a sensory room?
A supervised, low-stimulation space with clear boundaries, comfortable seating, adjustable lighting, limited materials, and visual supports works well. Keep the tool selection small and choose items based on the actual students who'll use it.